Brown Butter Rice Krispie Treats
These Brown Butter Rice Krispie Treats take a childhood classic and give it the upgrade it deserves. From the very first bite, you will taste the difference, and once you make them this way, there is no going back. They still have that familiar gooey crunch everyone loves, but now they come with a rich, cozy twist that makes them feel extra special. The best part? They're made with THREE ingredients. Easy peasy!
First, browning the butter is where the magic happens. As it turns golden and fragrant, it creates a rich, semi nutty flavor that instantly levels up the entire pan. That warm, toasty depth pairs perfectly with melty marshmallows and crispy cereal, making every bite absolutely irresistible.
Even better, these Brown Butter Rice Krispie Treats come together in under 15 minutes. When a sweet craving hits or you need a last minute treat for a party or get together, this recipe has your back. It is quick, easy, and made with simple ingredients, yet it tastes like you put in way more effort than you did.
Most importantly, our family devours these every single time. They disappear fast, people always ask for the recipe, and leftovers rarely exist. Fun, nostalgic, and wildly delicious, these treats prove that one small change can make a classic feel brand new again.
Jump to:
Ingredients
- Rice Krispie Cereal
- Mini Marshmallows
- Salted Butter
See recipe card for quantities.
Instructions
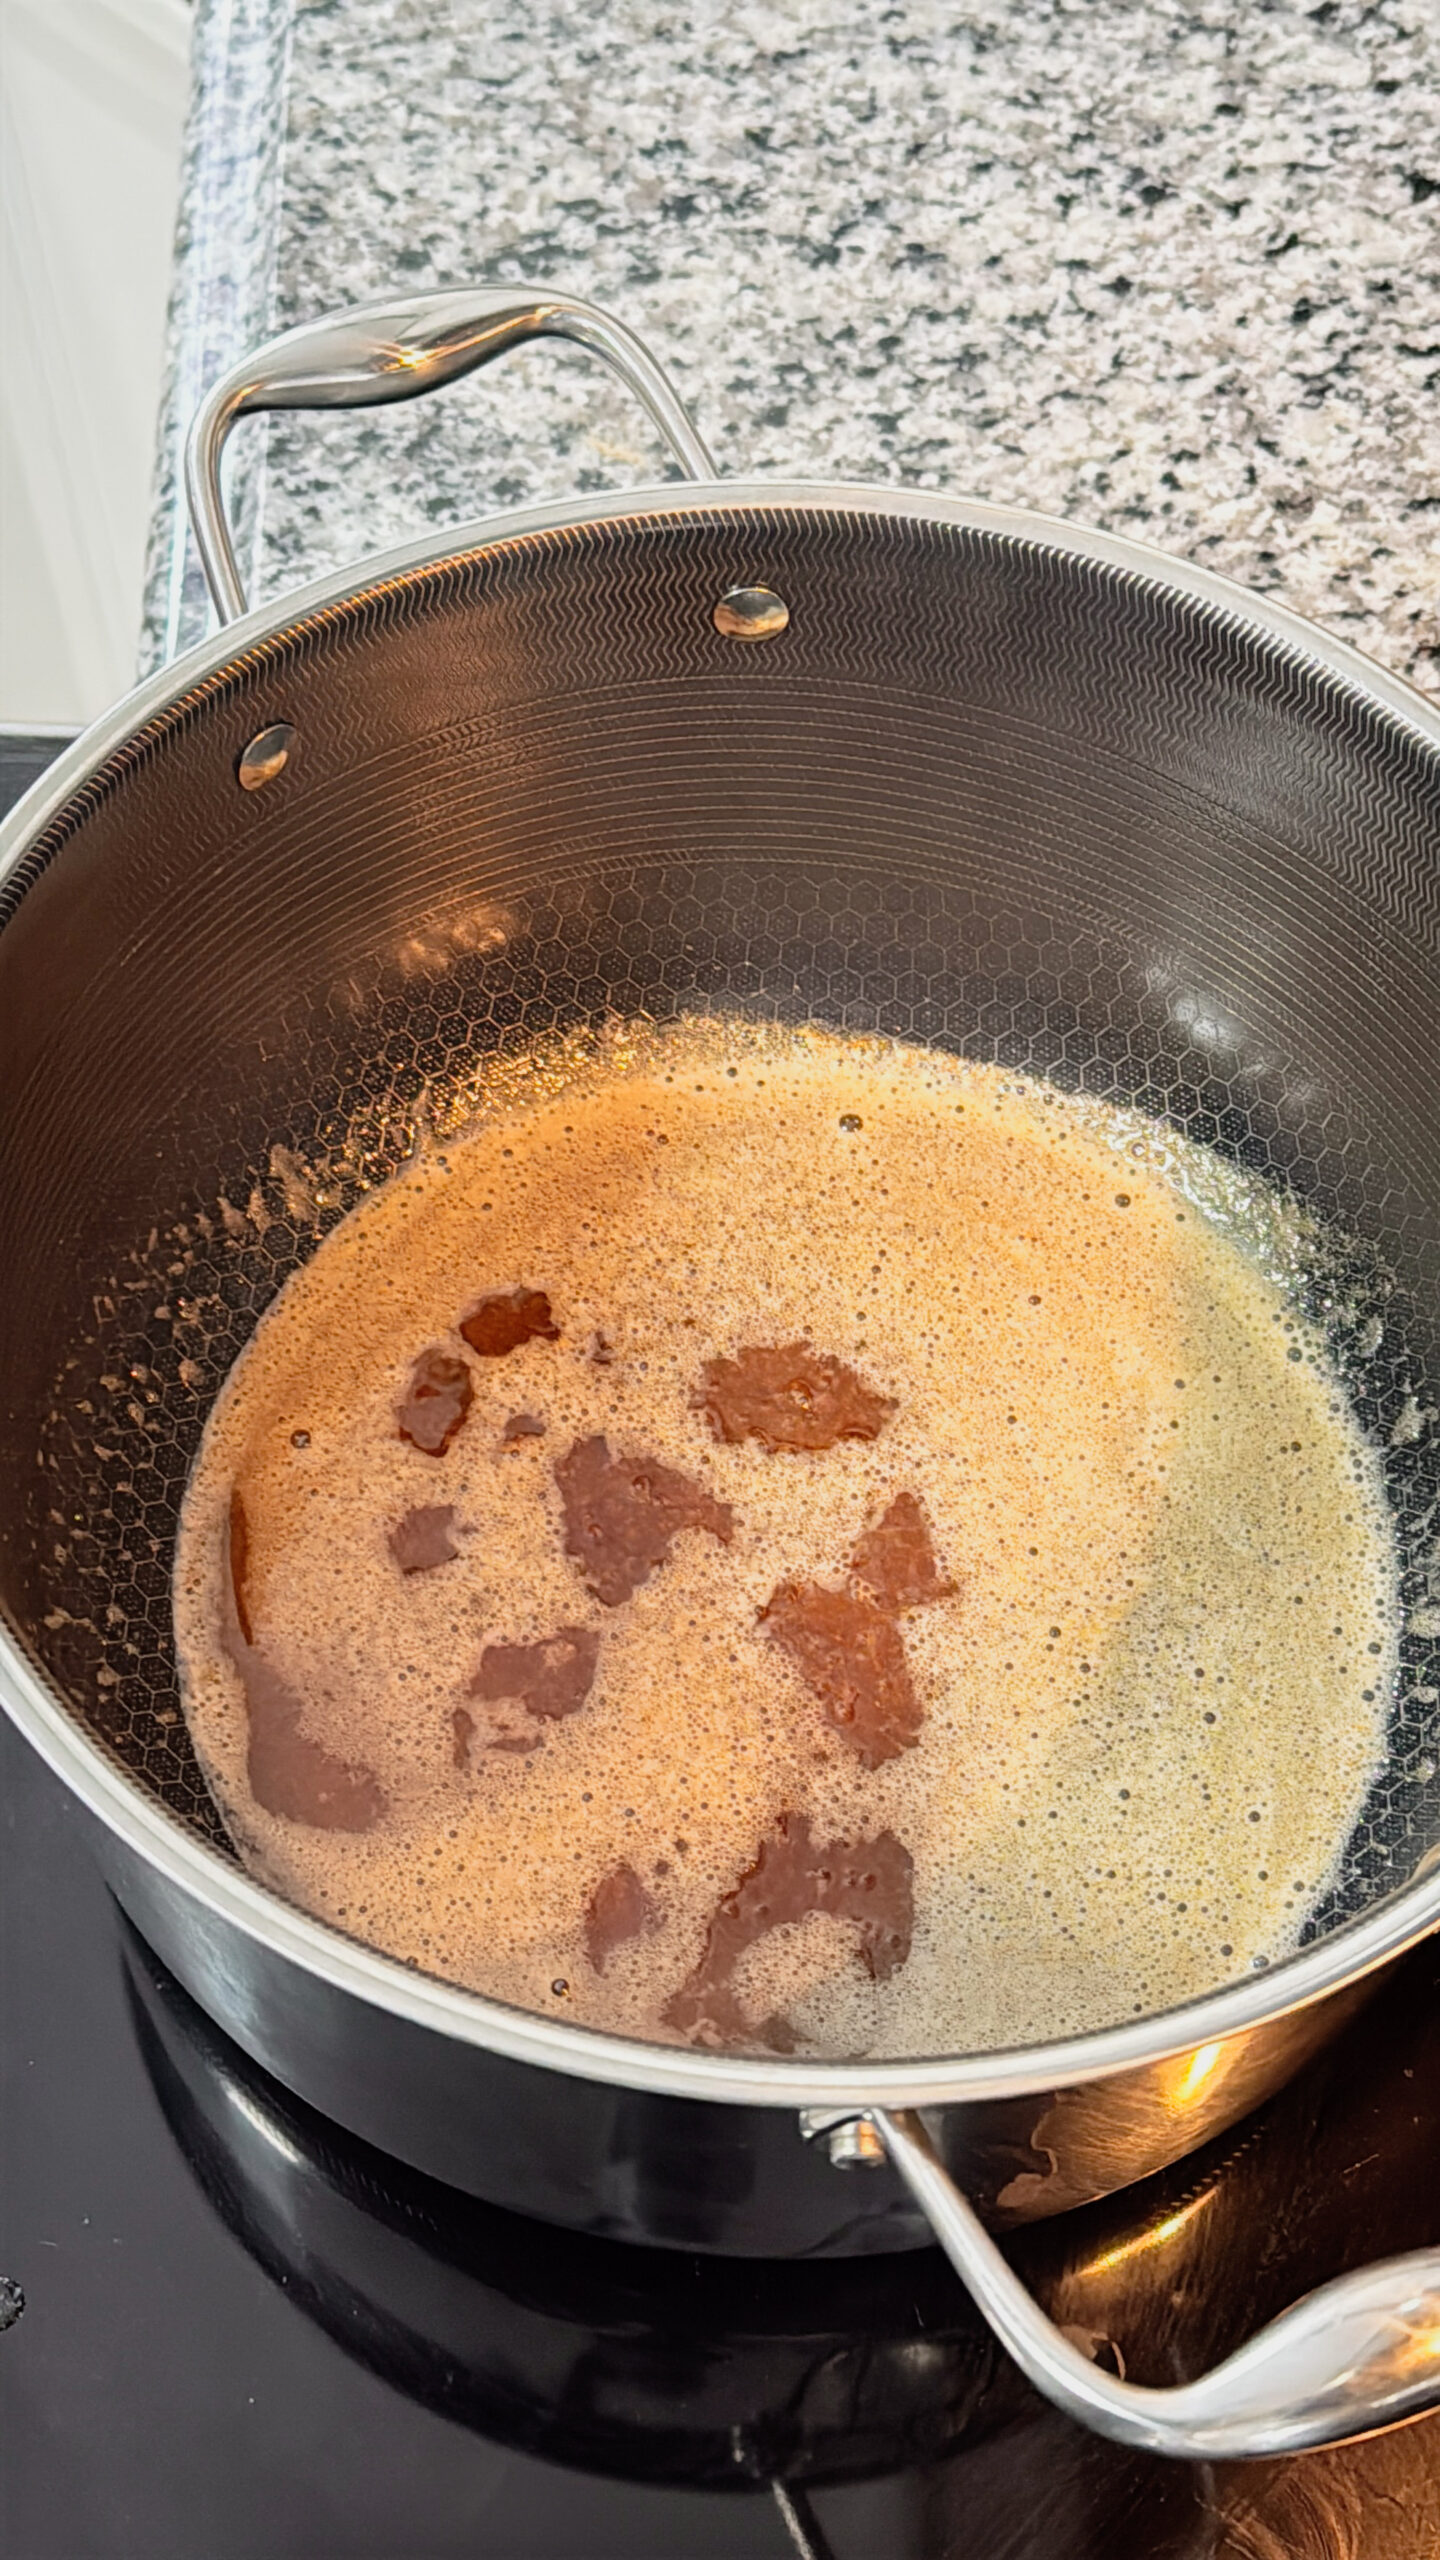
- Step 1: First, over medium heat, melt the butter in a large pot over medium heat, stirring occasionally, until it bubbles, turns golden brown, and smells rich and nutty.
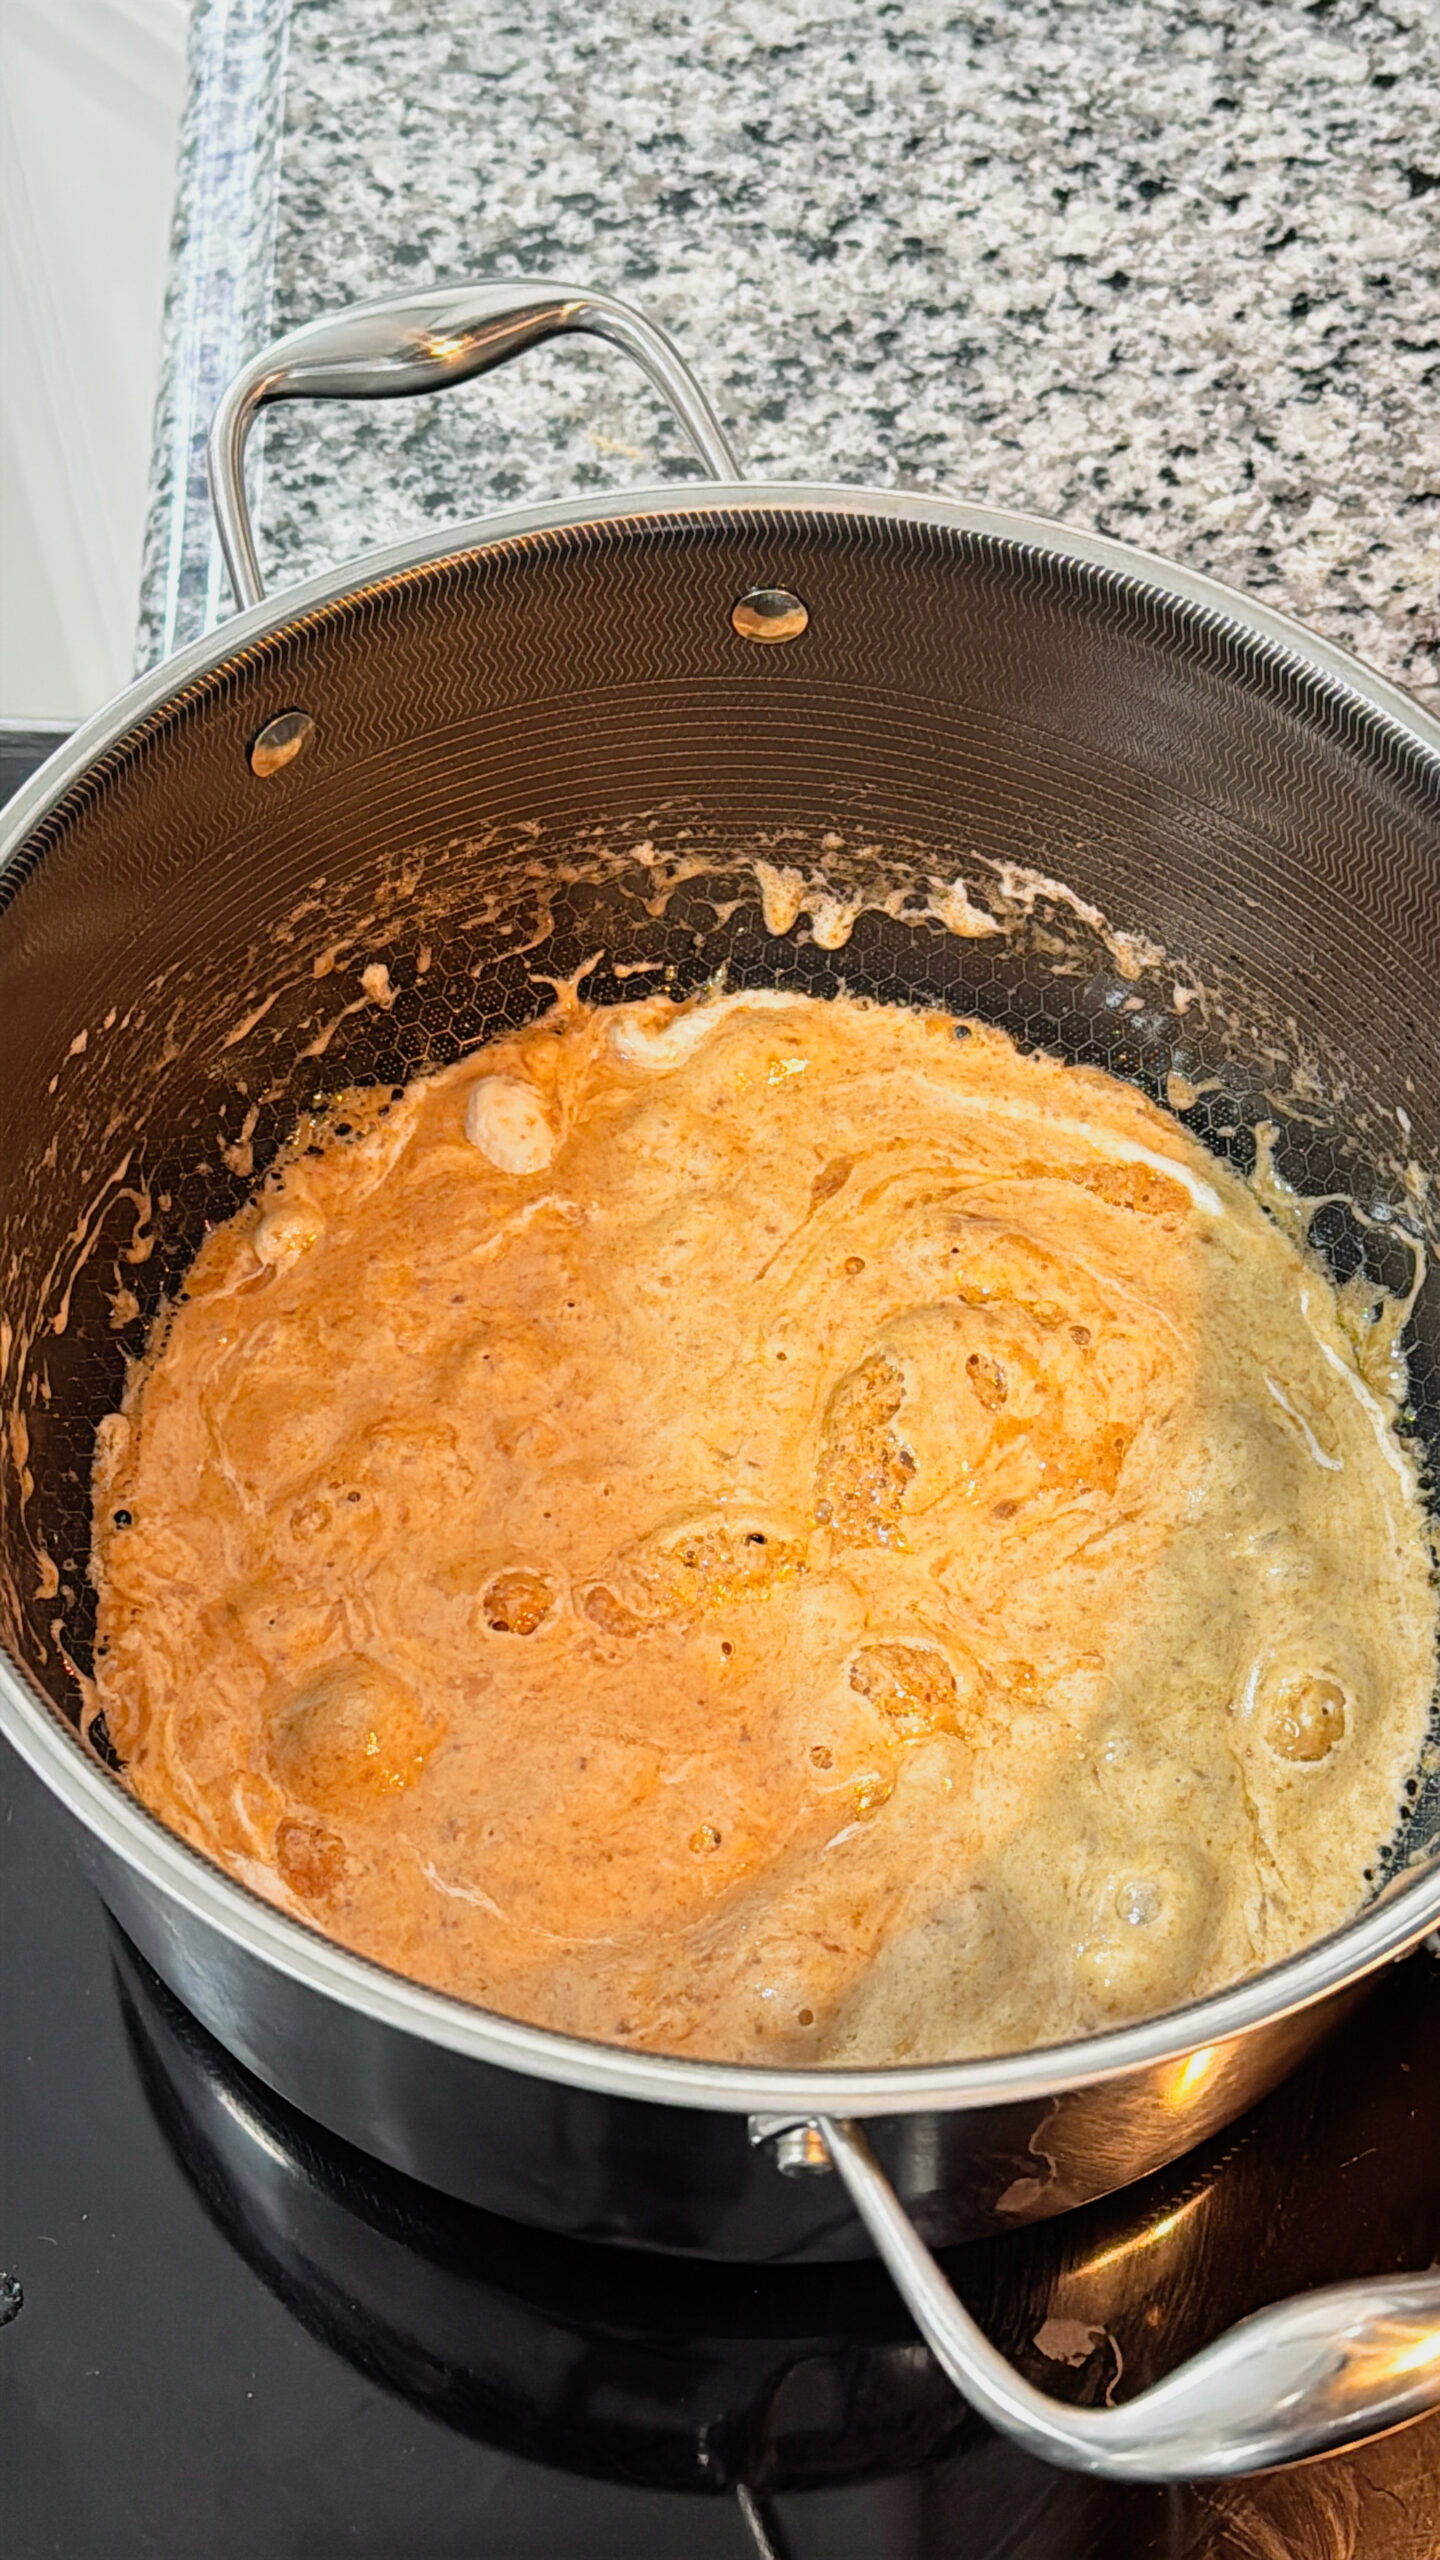
- Step 2: Next, lower the heat and add the marshmallows, stirring until fully melted and smooth. Then immediately stir in the Rice Krispie cereal until evenly coated.
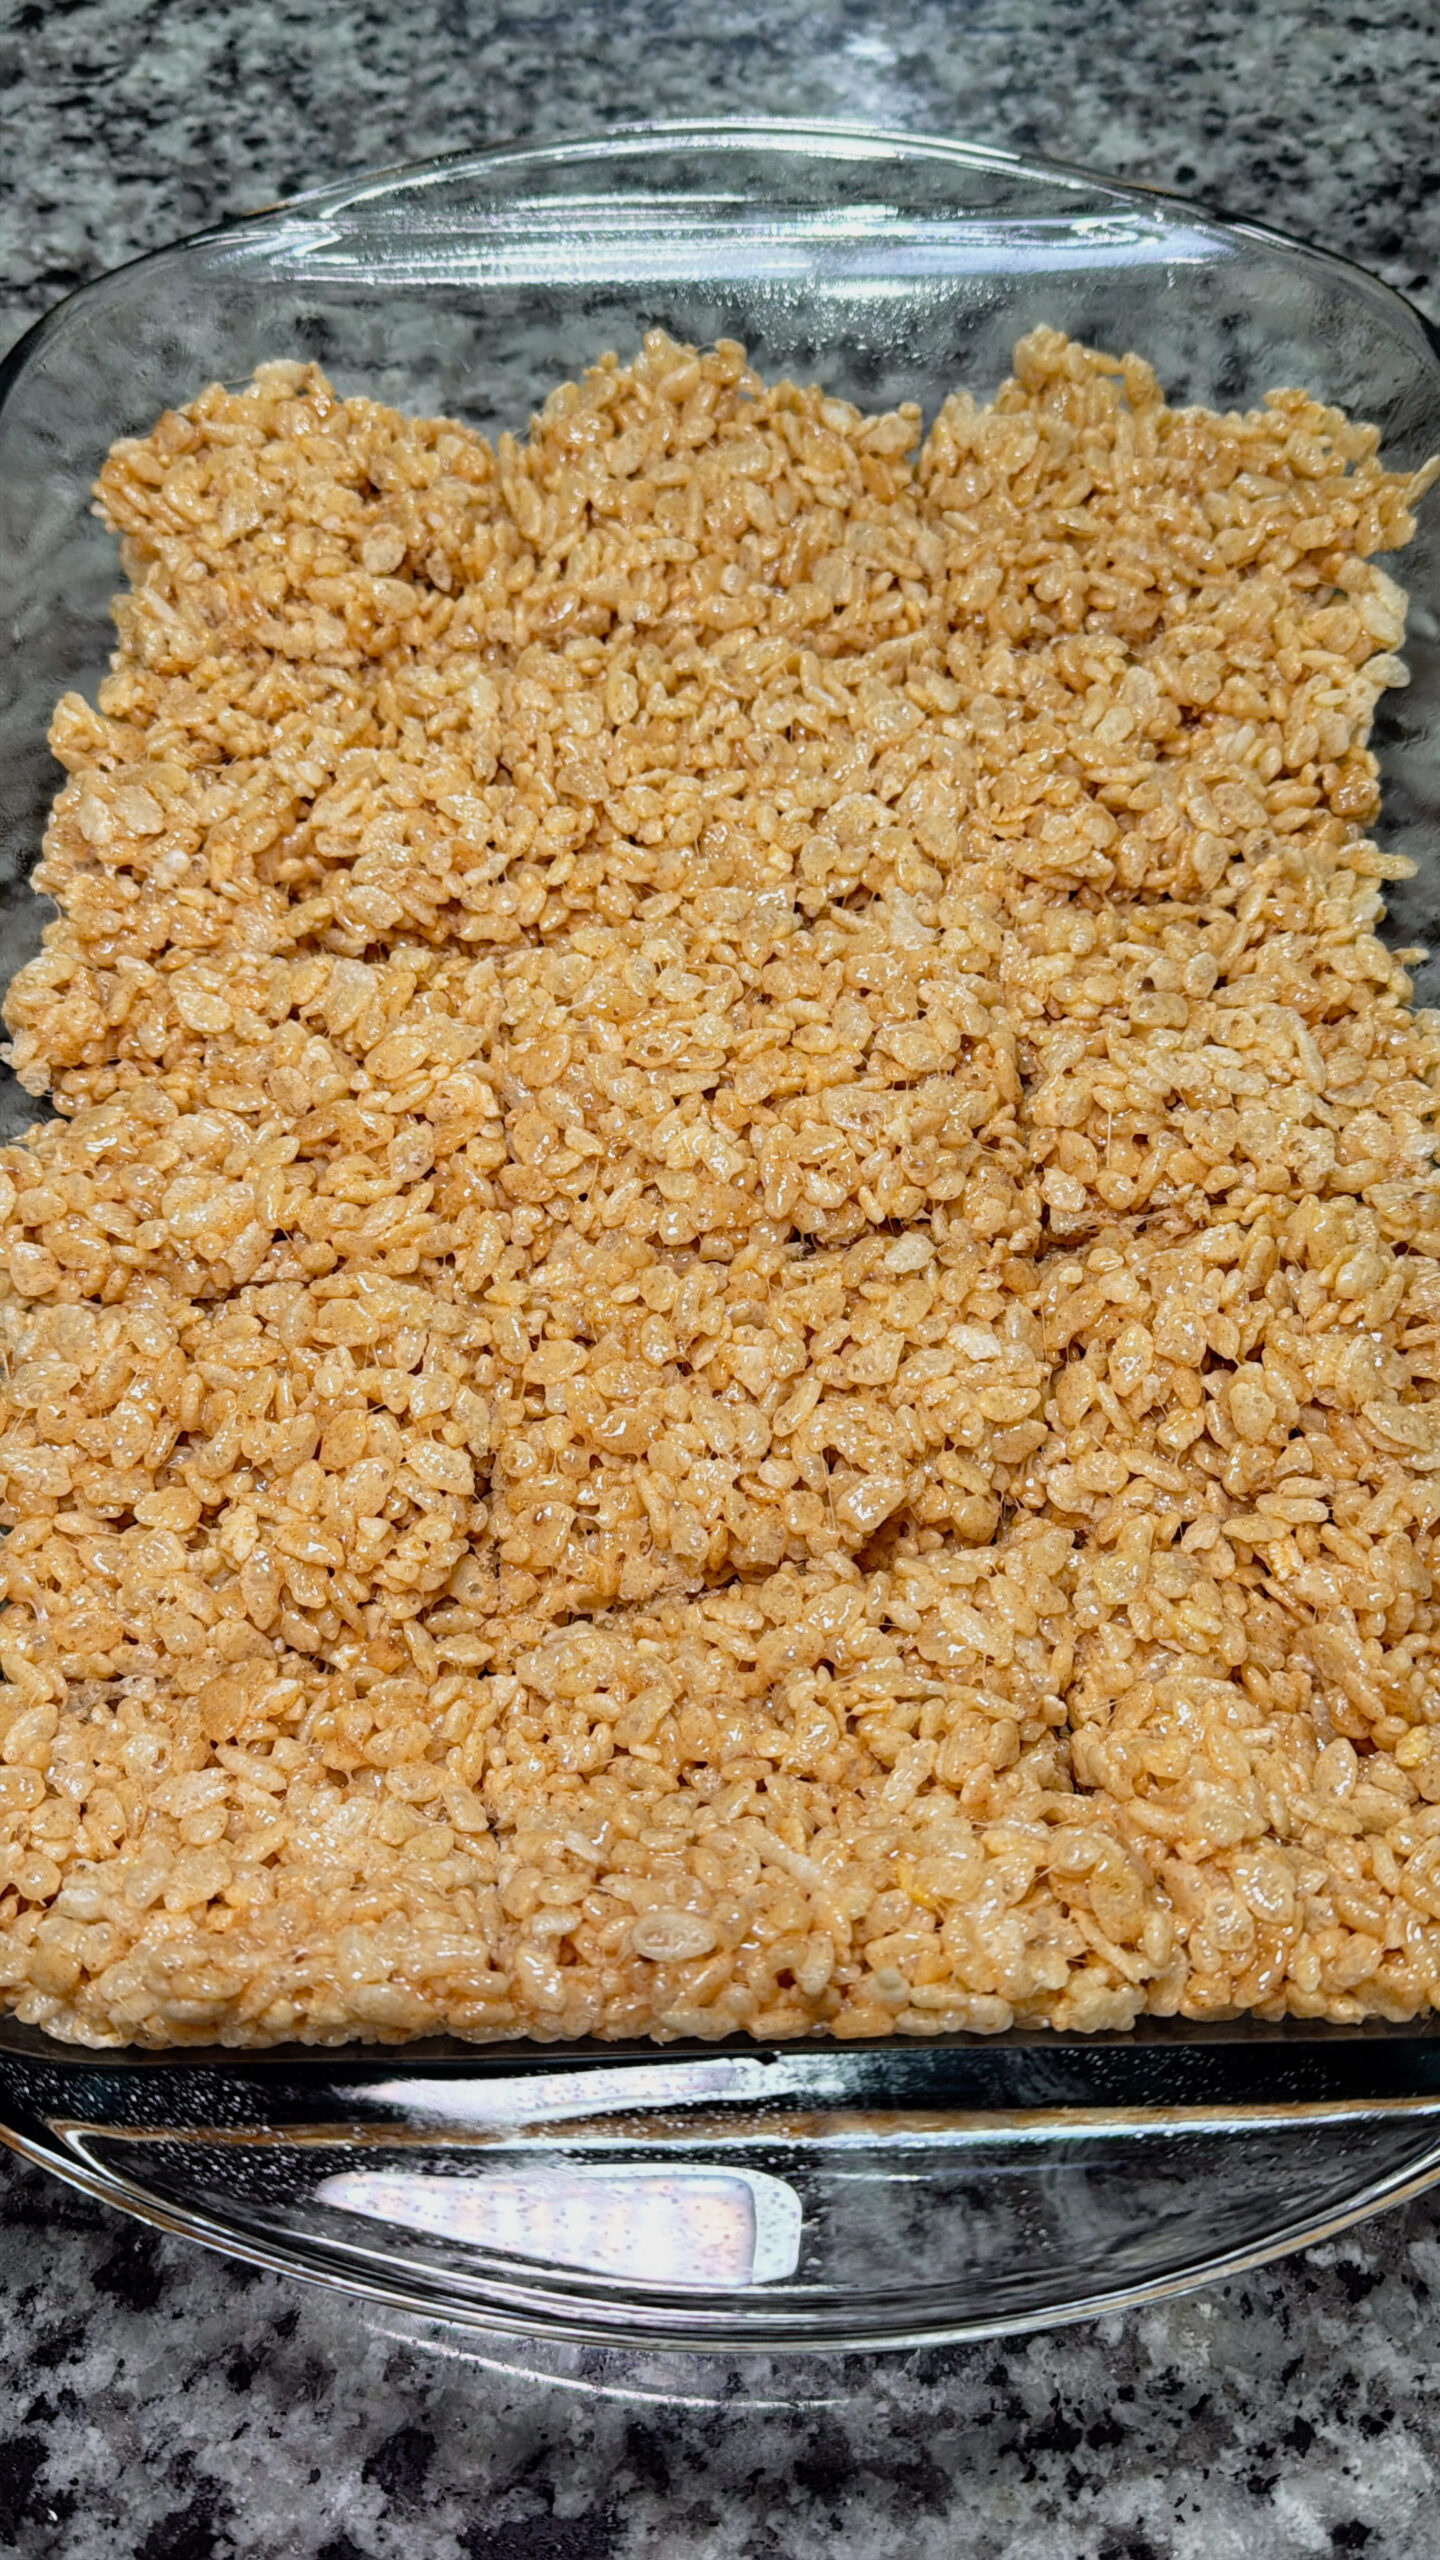
- Step 3: After that, transfer the mixture to a lightly greased or buttered 13×9 baking pan and spread it evenly across the pan.
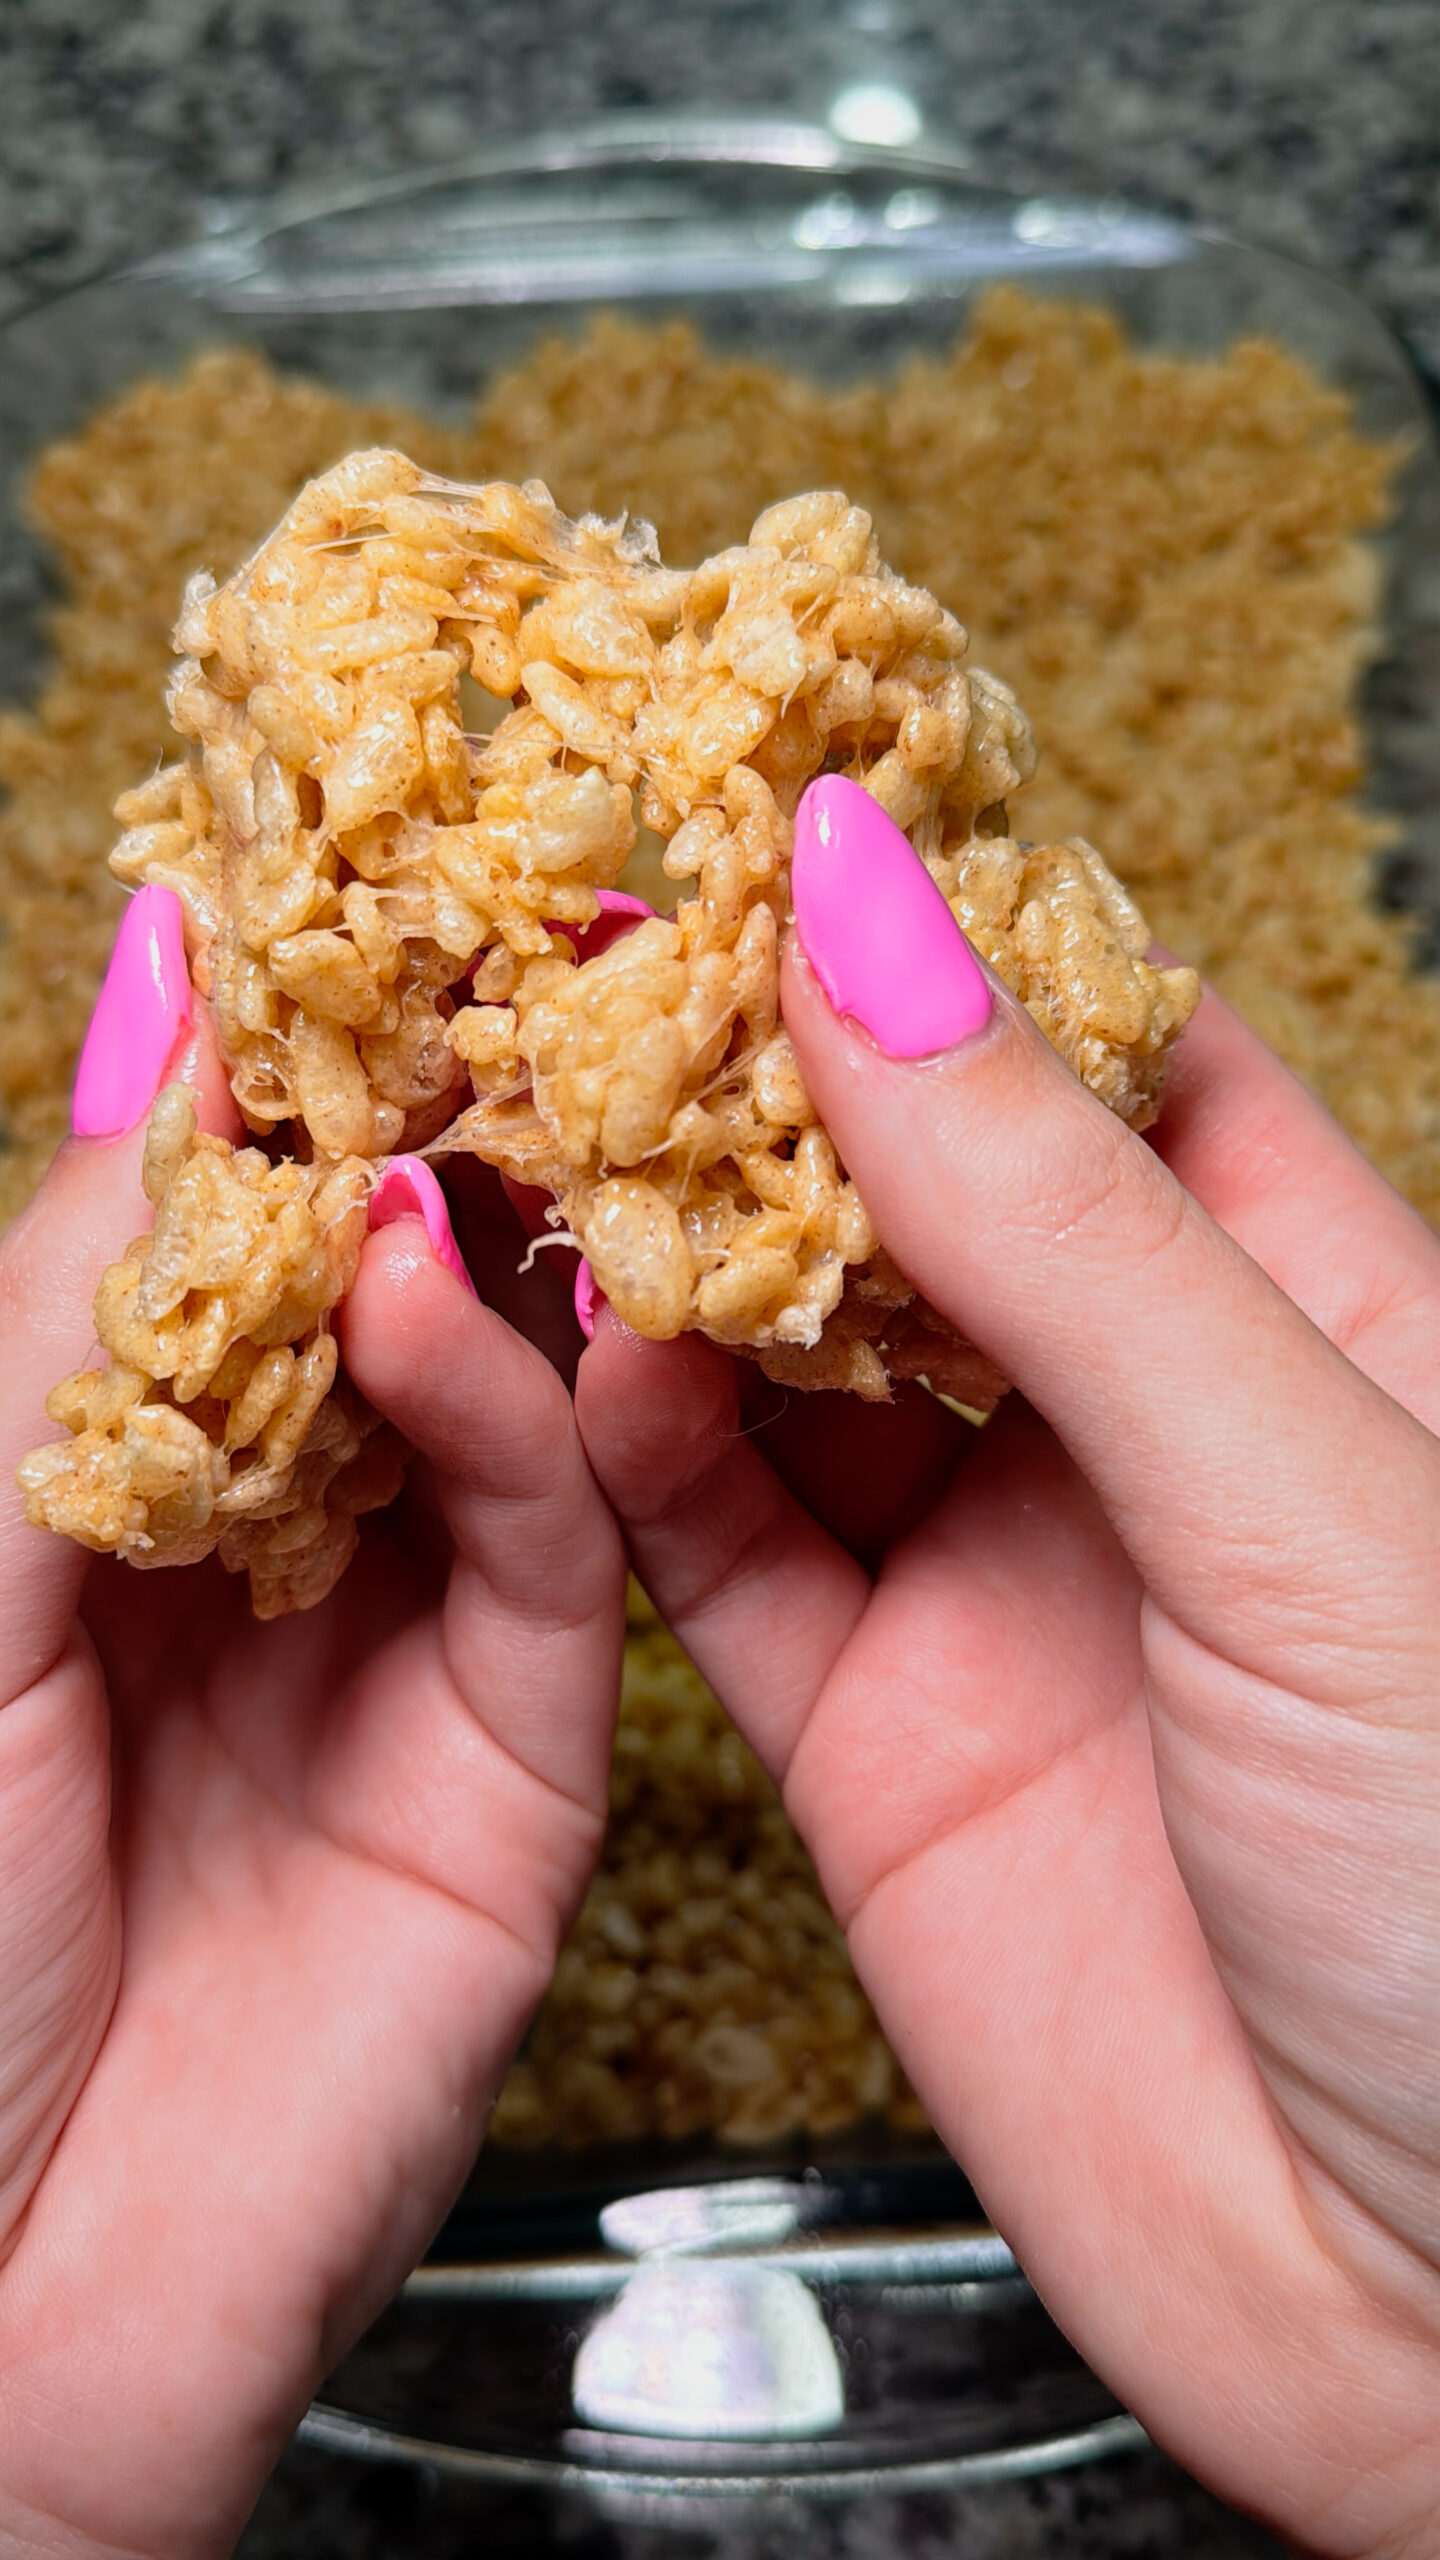
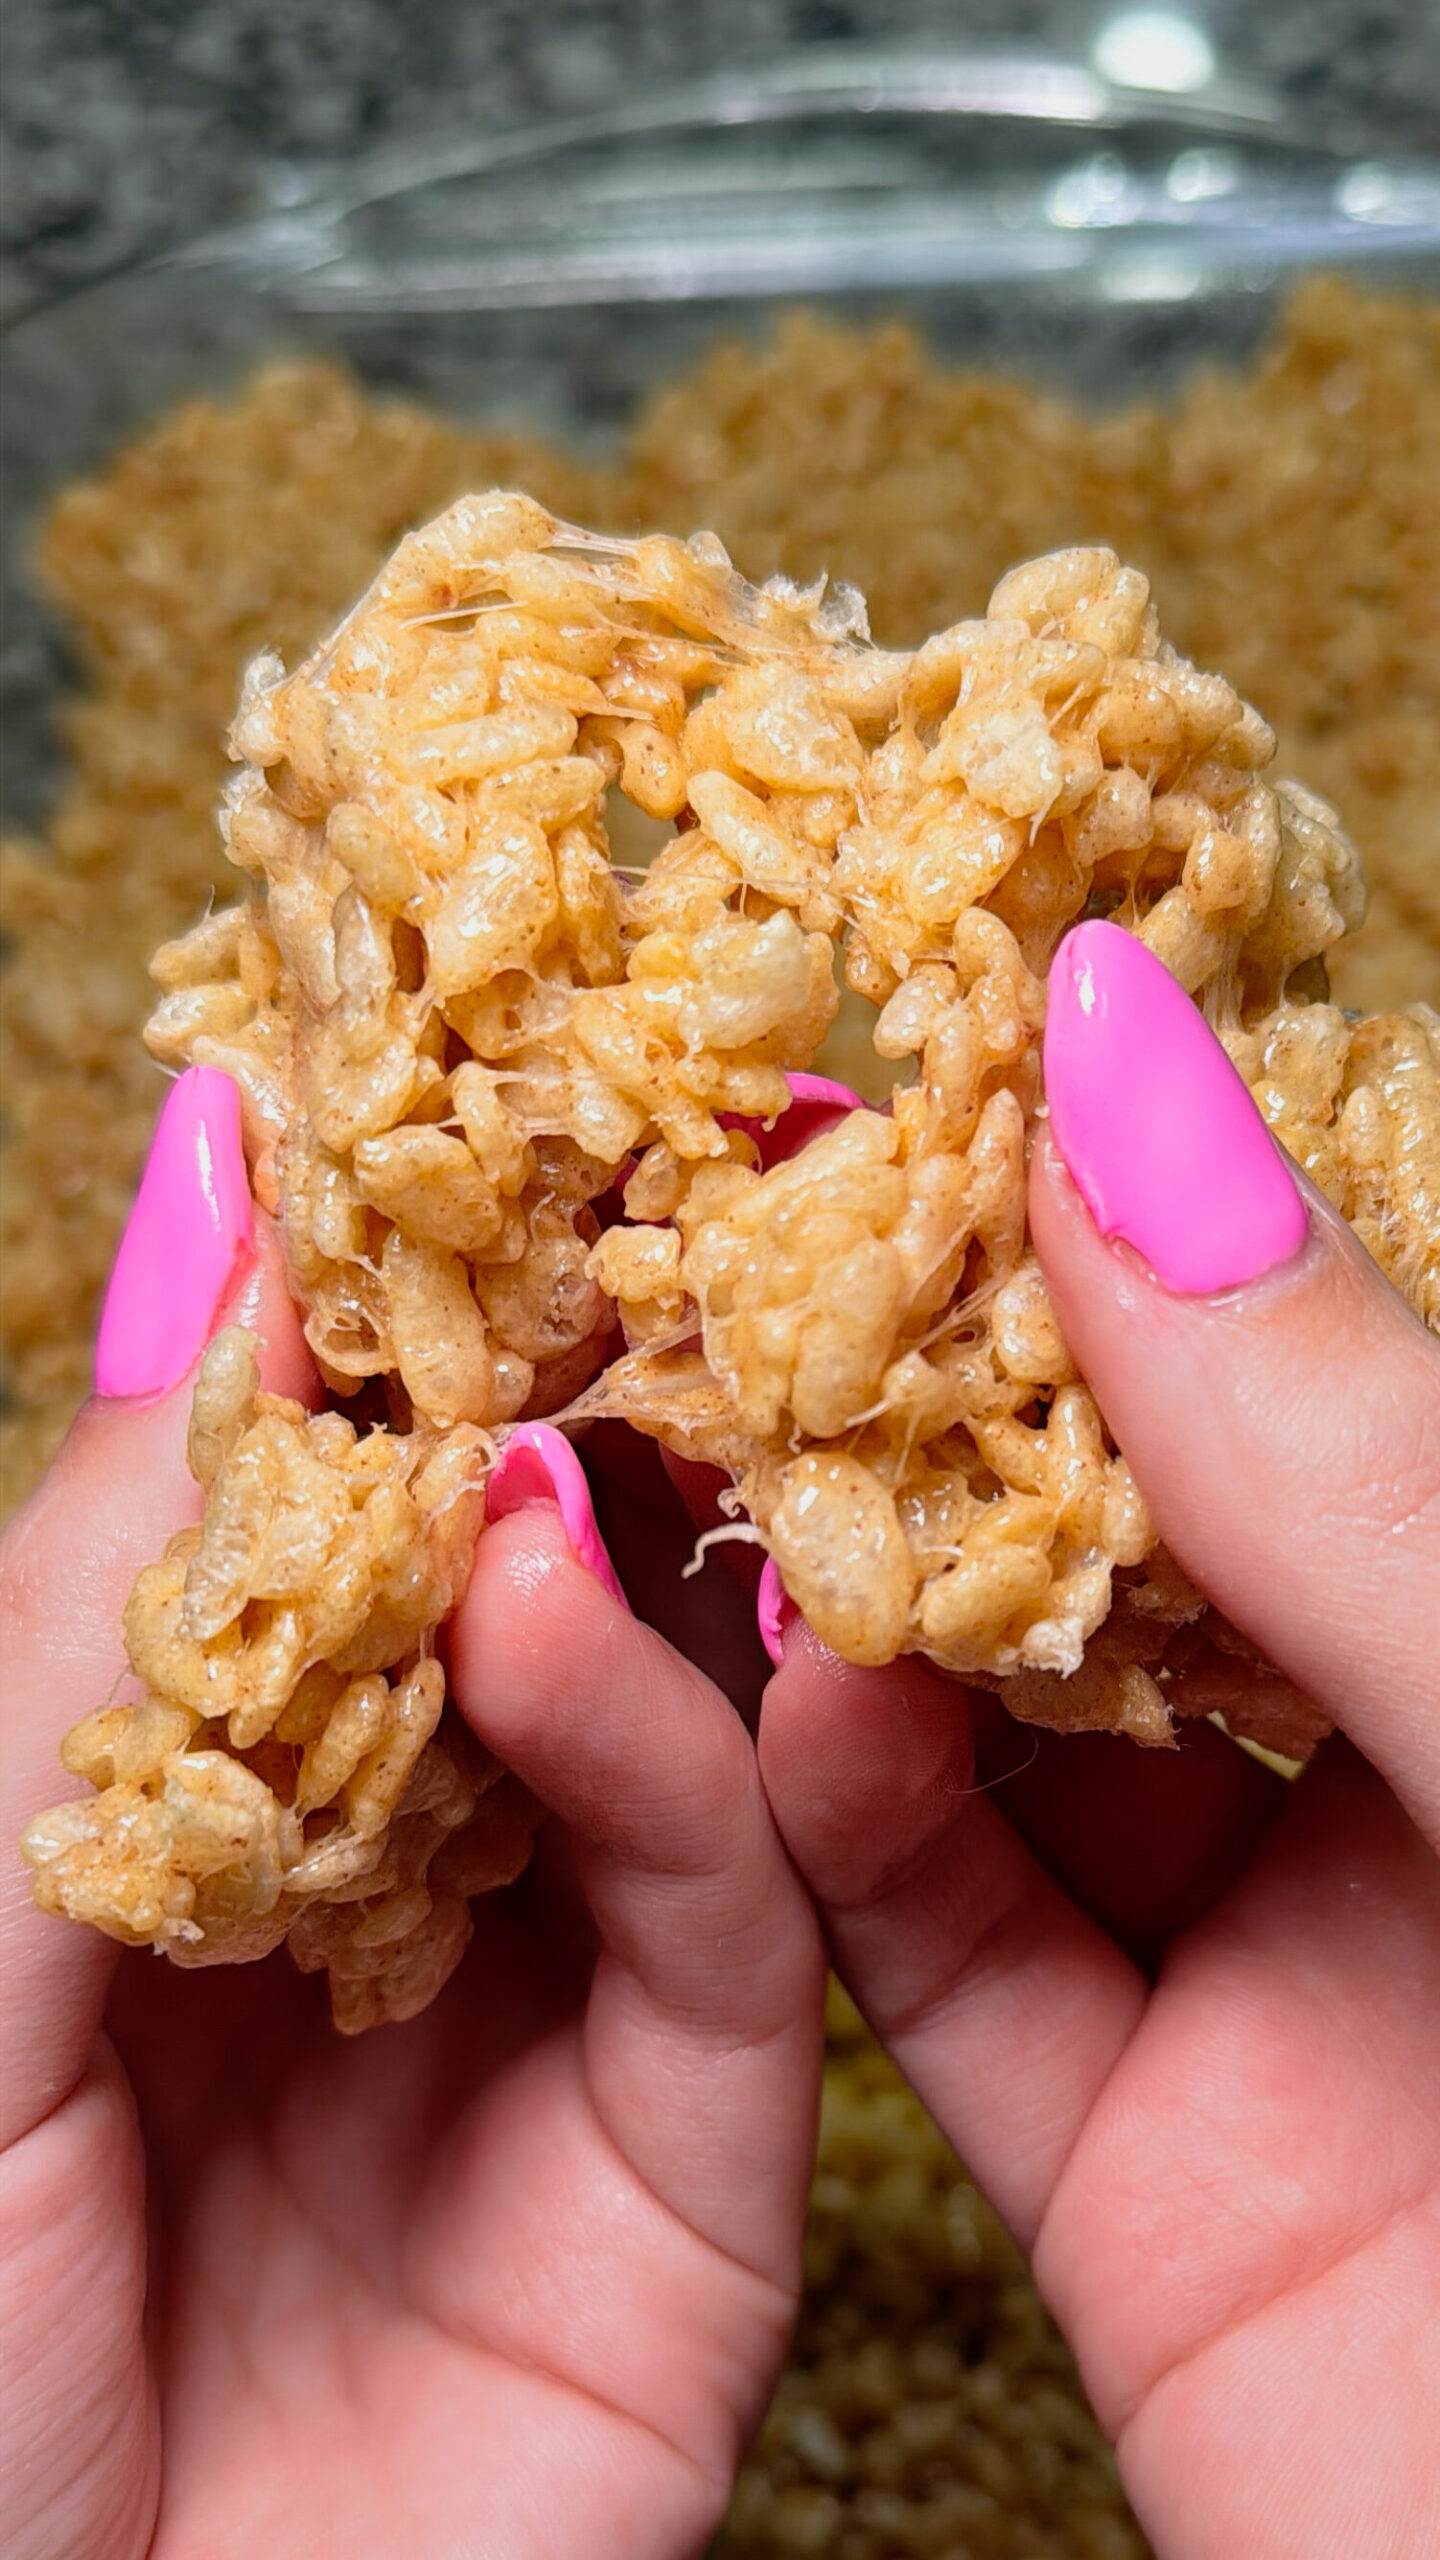
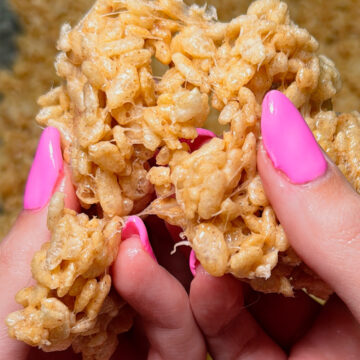
- Step 4: Finally, cut into your desired size and enjoy right away, or save some for later 😋
Variations
- Add a candy like M&Ms or Reese's Pieces, chocolate chips, sprinkles, etc for an extra fun addition to these! Just mix them in right after the Rice Krispie Cereal, before you add it to the 13x9 baking pan.
Equipment
- Large pot
- Wooden spoon or spatula
- 13×9 baking pan
- Measuring cups
- Butter knife or spatula for spreading
Storage
Store Rice Krispie Treats in an airtight container at room temperature for up to 3 days. To keep them soft, place a piece of parchment paper or wax paper between layers. Avoid refrigerating, as it can make the treats firm.
FAQ
You will know it is ready when it turns golden brown, bubbles gently, and smells rich and nutty. Keep stirring and watch closely so it does not burn.
Press the mixture gently into the pan instead of packing it down tightly. Storing them in an airtight container at room temperature also helps keep them soft and chewy.
OH yes! Chocolate chips, sprinkles, or a drizzle of melted chocolate on top all work well. Just add extras after mixing in the cereal so everything stays evenly combined.
More Desserts You May Love:
Looking for other recipes like this? Try these:


Find Your Next Favorite Recipe!
View all of our recipes in one place:
- Crockpot White Chicken Chili
- Crockpot Beef Stroganoff
- Creamy Boursin Chicken Orzo
- Creamy Strawberry Lemonade


📖 Recipe
Brown Butter Rice Krispie Treats
Equipment
- Large pot
- Wooden spoon or spatula
- 13×9 baking pan
- Measuring cups
- Butter knife or spatula for spreading
Ingredients
- 6 cups Rice Krispie Cereal
- 10 oz Mini Marshmallows
- 8 tablespoon Salted Butter
Instructions
- First, melt the butter in a large pot over medium heat, stirring occasionally, until it bubbles, turns golden brown, and smells rich and nutty.
- Next, lower the heat and add the marshmallows, stirring until fully melted and smooth. Then immediately stir in the Rice Krispie cereal until evenly coated.
- After that, transfer the mixture to a lightly greased or buttered 13×9 baking pan and spread it evenly across the pan.
- Finally, cut into your desired size and enjoy right away, or save some for later!


Comments
No Comments