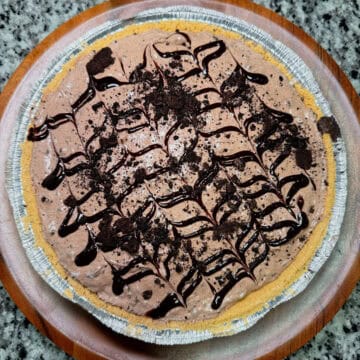
No Bake Oreo Pie

First, if you love cookies and cream desserts, this easy No Bake Oreo Pie will quickly become a favorite in your kitchen. It is rich, creamy, and packed with chocolatey Oreo flavor in every bite. The smooth filling pairs perfectly with the crunchy cookie pieces, which creates a sweet dessert that is hard to resist. This is an easy recipe for an Oreo pie or if you are looking for a cookies and cream treat!
Next, one of the best parts about this recipe is how easy it is to make. Instead of spending hours baking, you can mix everything together in just a few simple steps and place the pie in the refrigerator to chill. In just a few short hours, the filling firms up and creates a thick, creamy pie that slices beautifully.
My kids absolutely love this pie and always get excited when they see it in the fridge! They never wait long to grab a slice, and it usually disappears very quickly. Because of the creamy texture and sweet Oreo flavor, it is one of those desserts that everyone keeps coming back for.
Another reason I love making this pie is how pretty it looks once it is finished. It's so easy as an Oreo pie or cookies and cream pie recipe. Even though the prep time is short, the finished pie looks impressive and bakery worthy. It is the kind of dessert that makes people think you spent all day in the kitchen.
Finally, this No Bake Oreo Pie is perfect when you are hosting or when someone asks you to bring a treat to share. It is simple, delicious, and always a crowd favorite. Once you make it, you will quickly see why it becomes a regular dessert!
Jump to:
Ingredients
- 1 9-inch pre-made Graham Cracker Crust
- Cream Cheese, Softened
- Chocolate Syrup
- Sweetened Condensed Milk
- Cool Whip
- Crushed Oreos - (save a smidge for the top!)
- Extra chocolate syrup for drizzling, optional
- Whipped cream for serving, optional
See recipe card for quantities.
Instructions
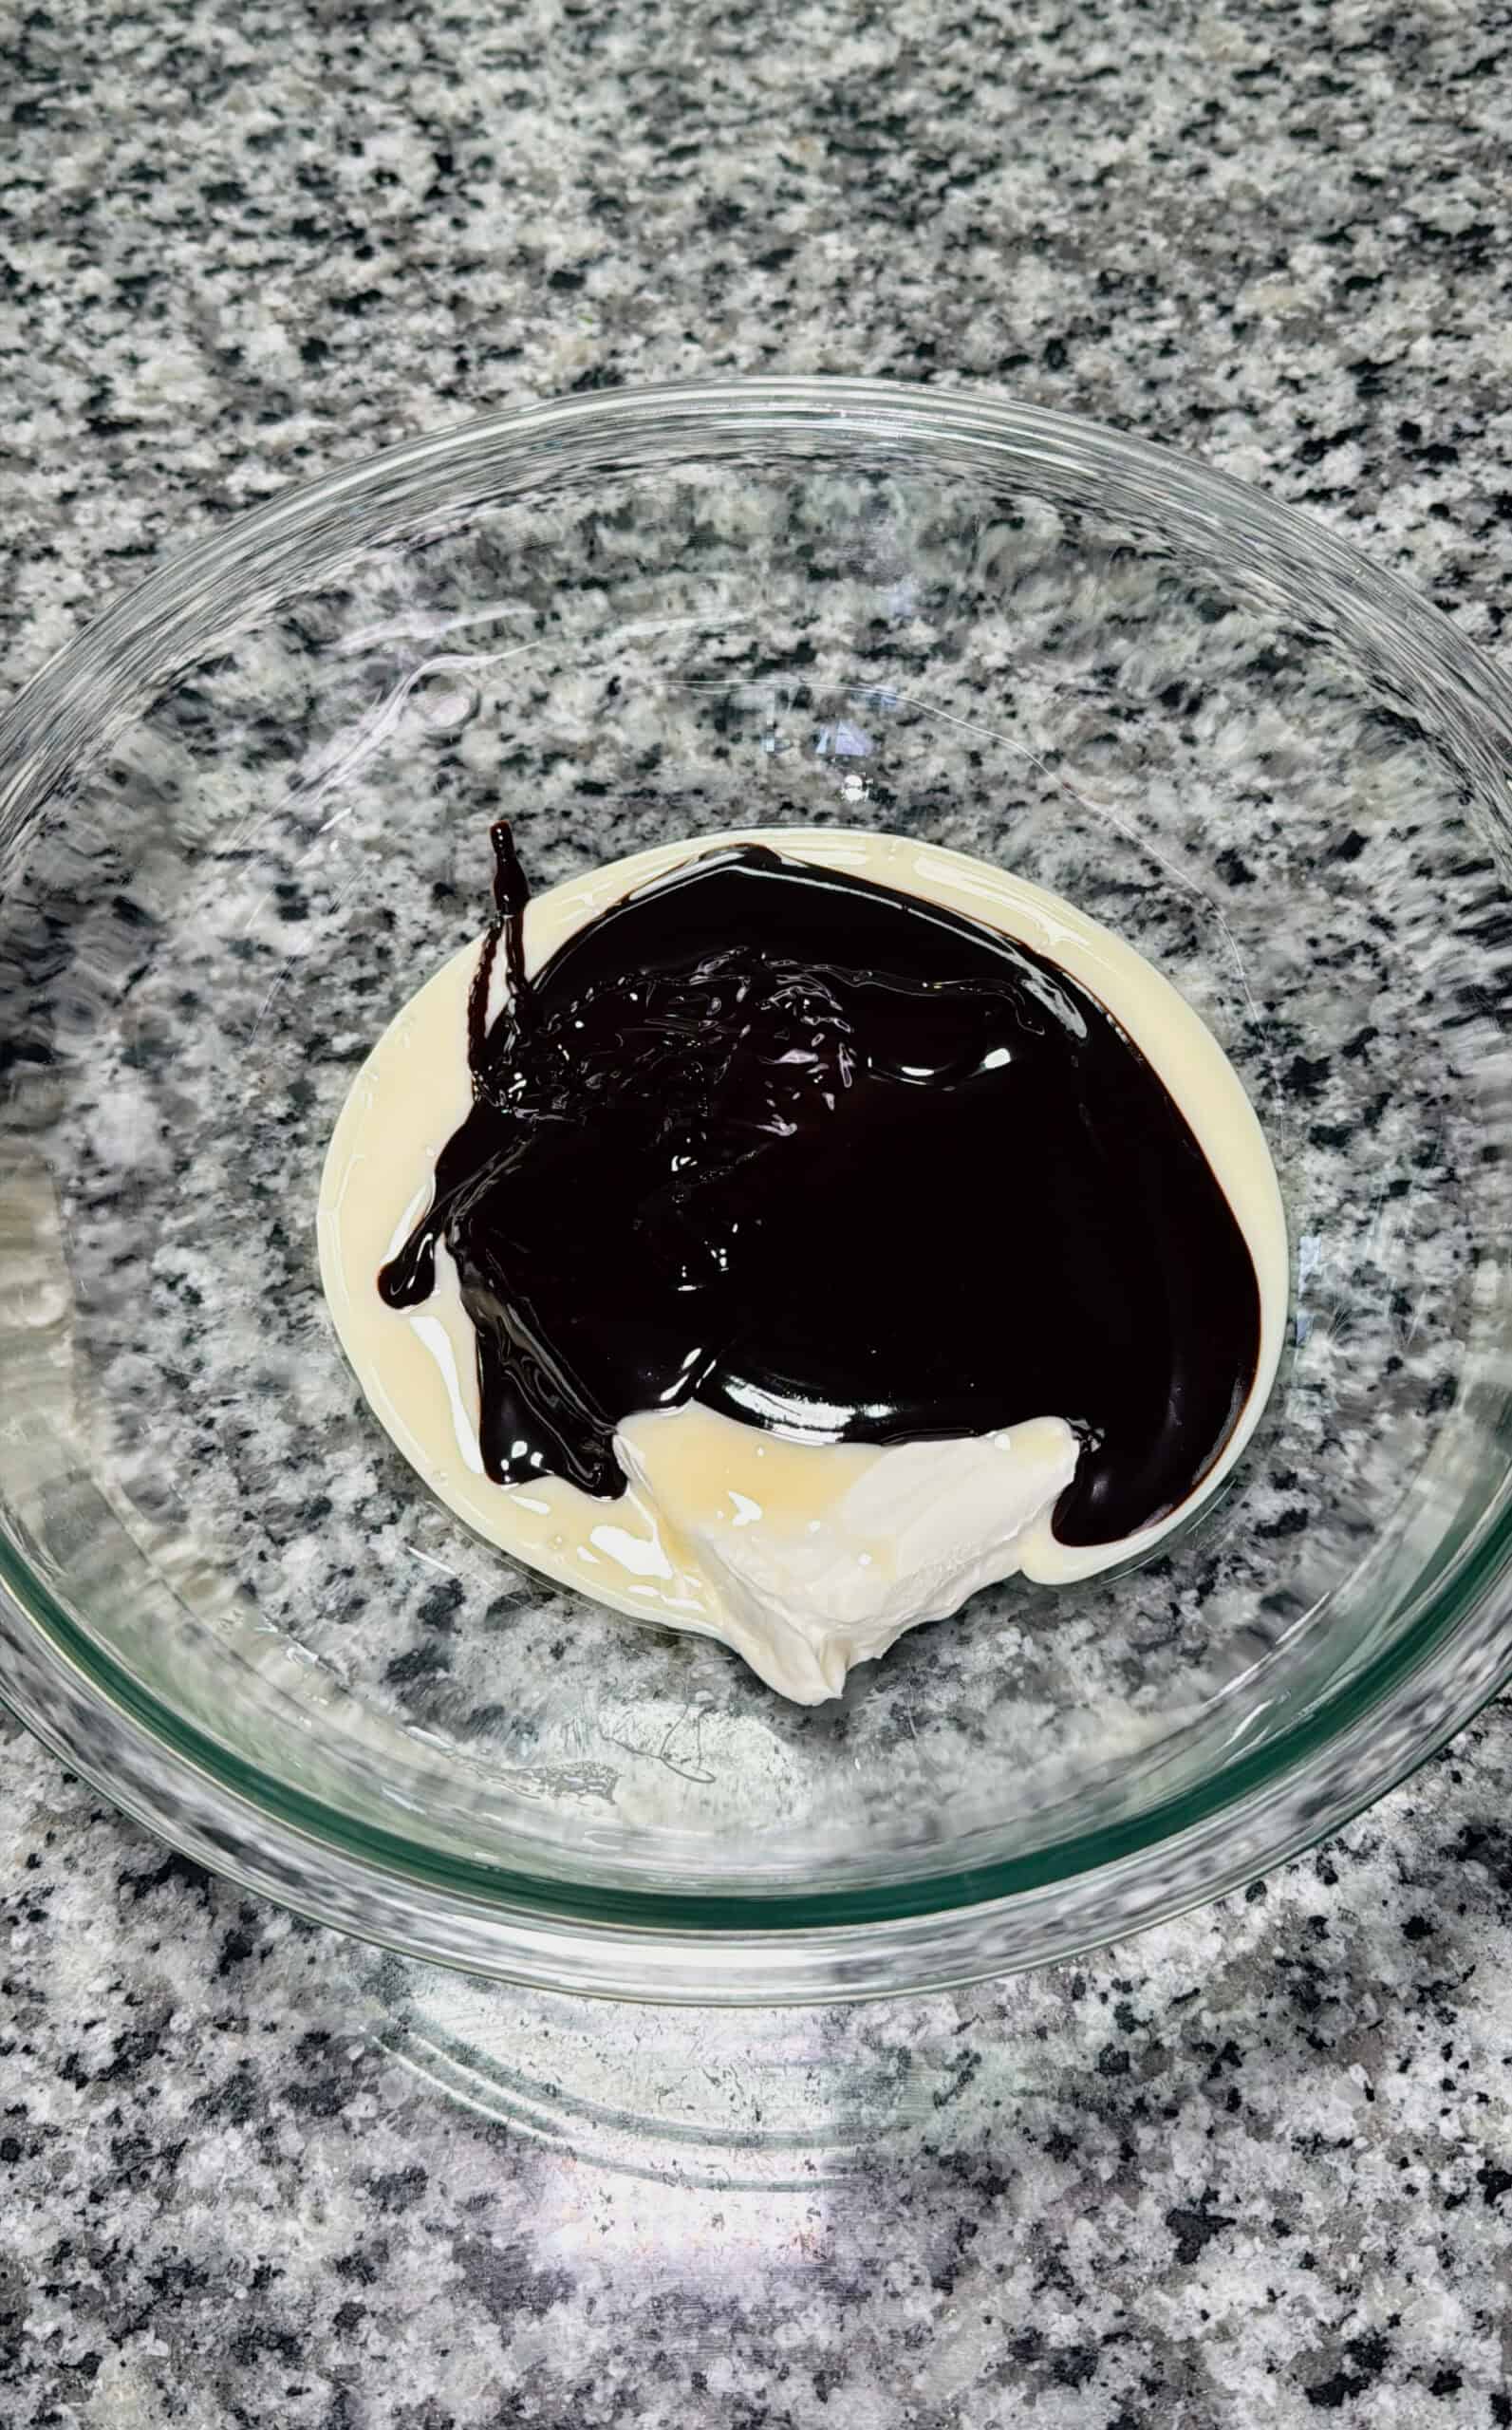
- Step 1: In a large mixing bowl, combine the softened cream cheese, sweetened condensed milk, and chocolate syrup. Mix with a hand mixer until smooth and well combined.
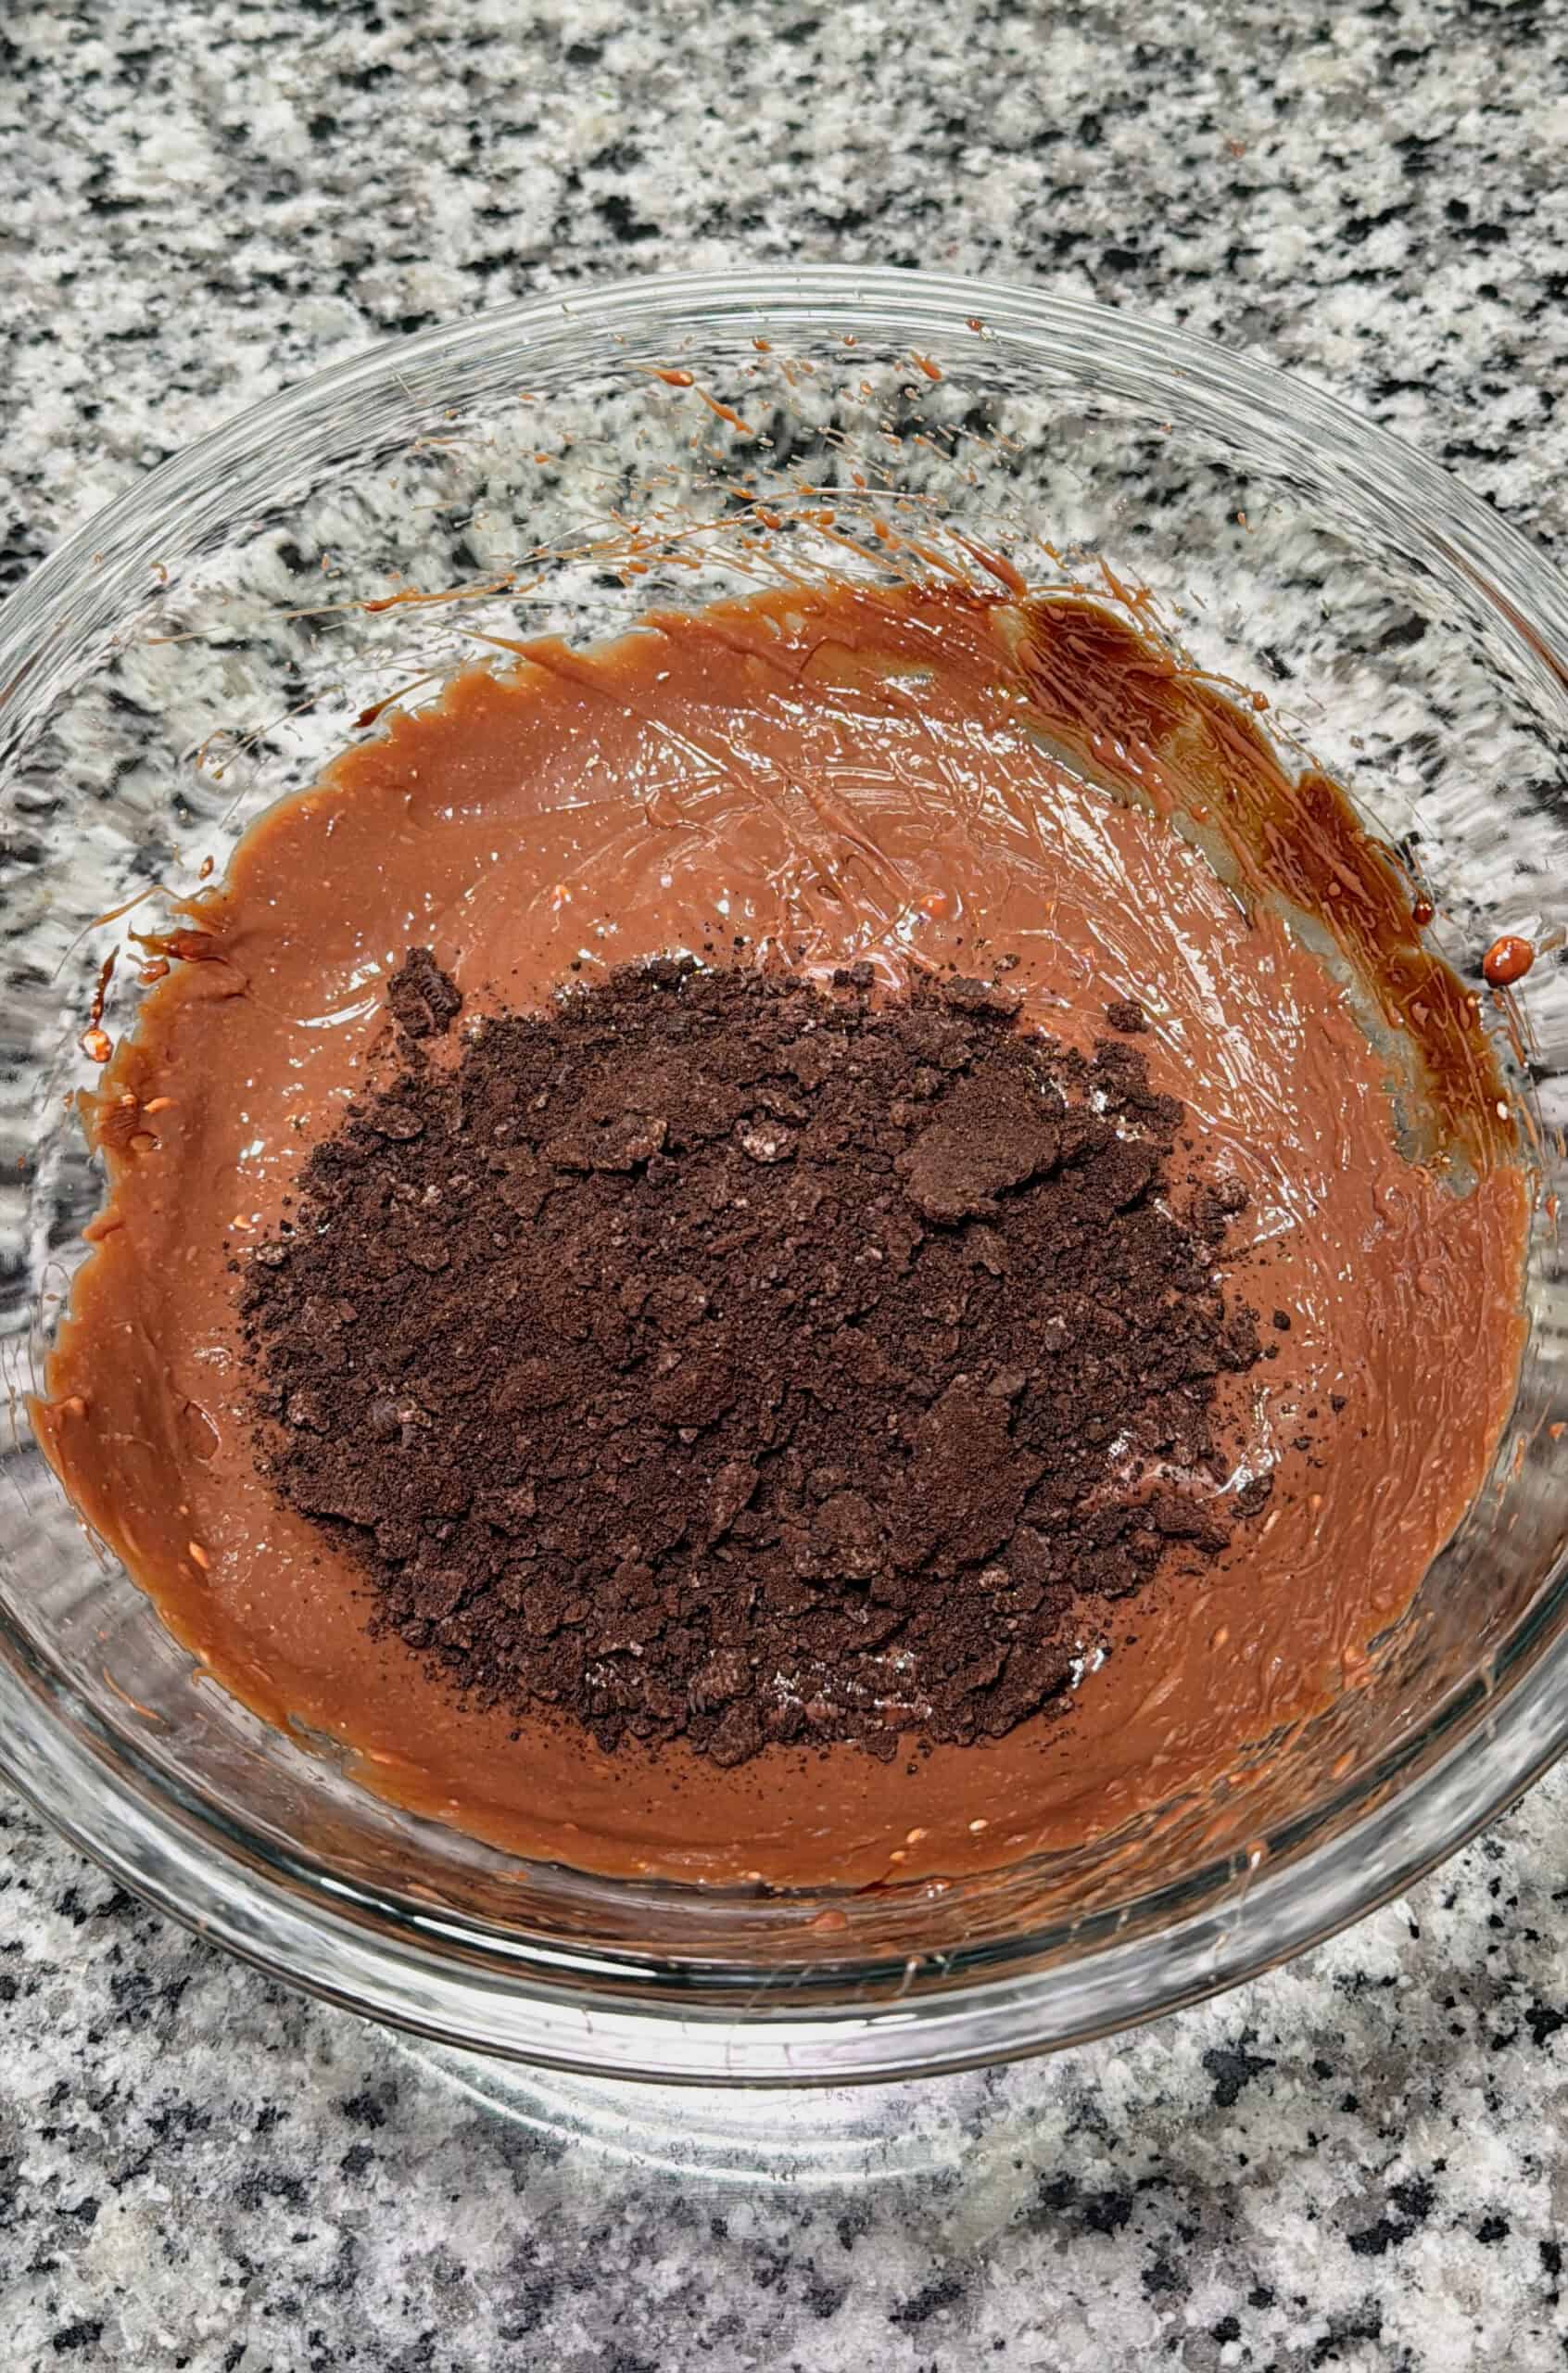
- Step 2: Stir in the crushed Oreos until evenly mixed throughout the filling with a spatula or spoon.
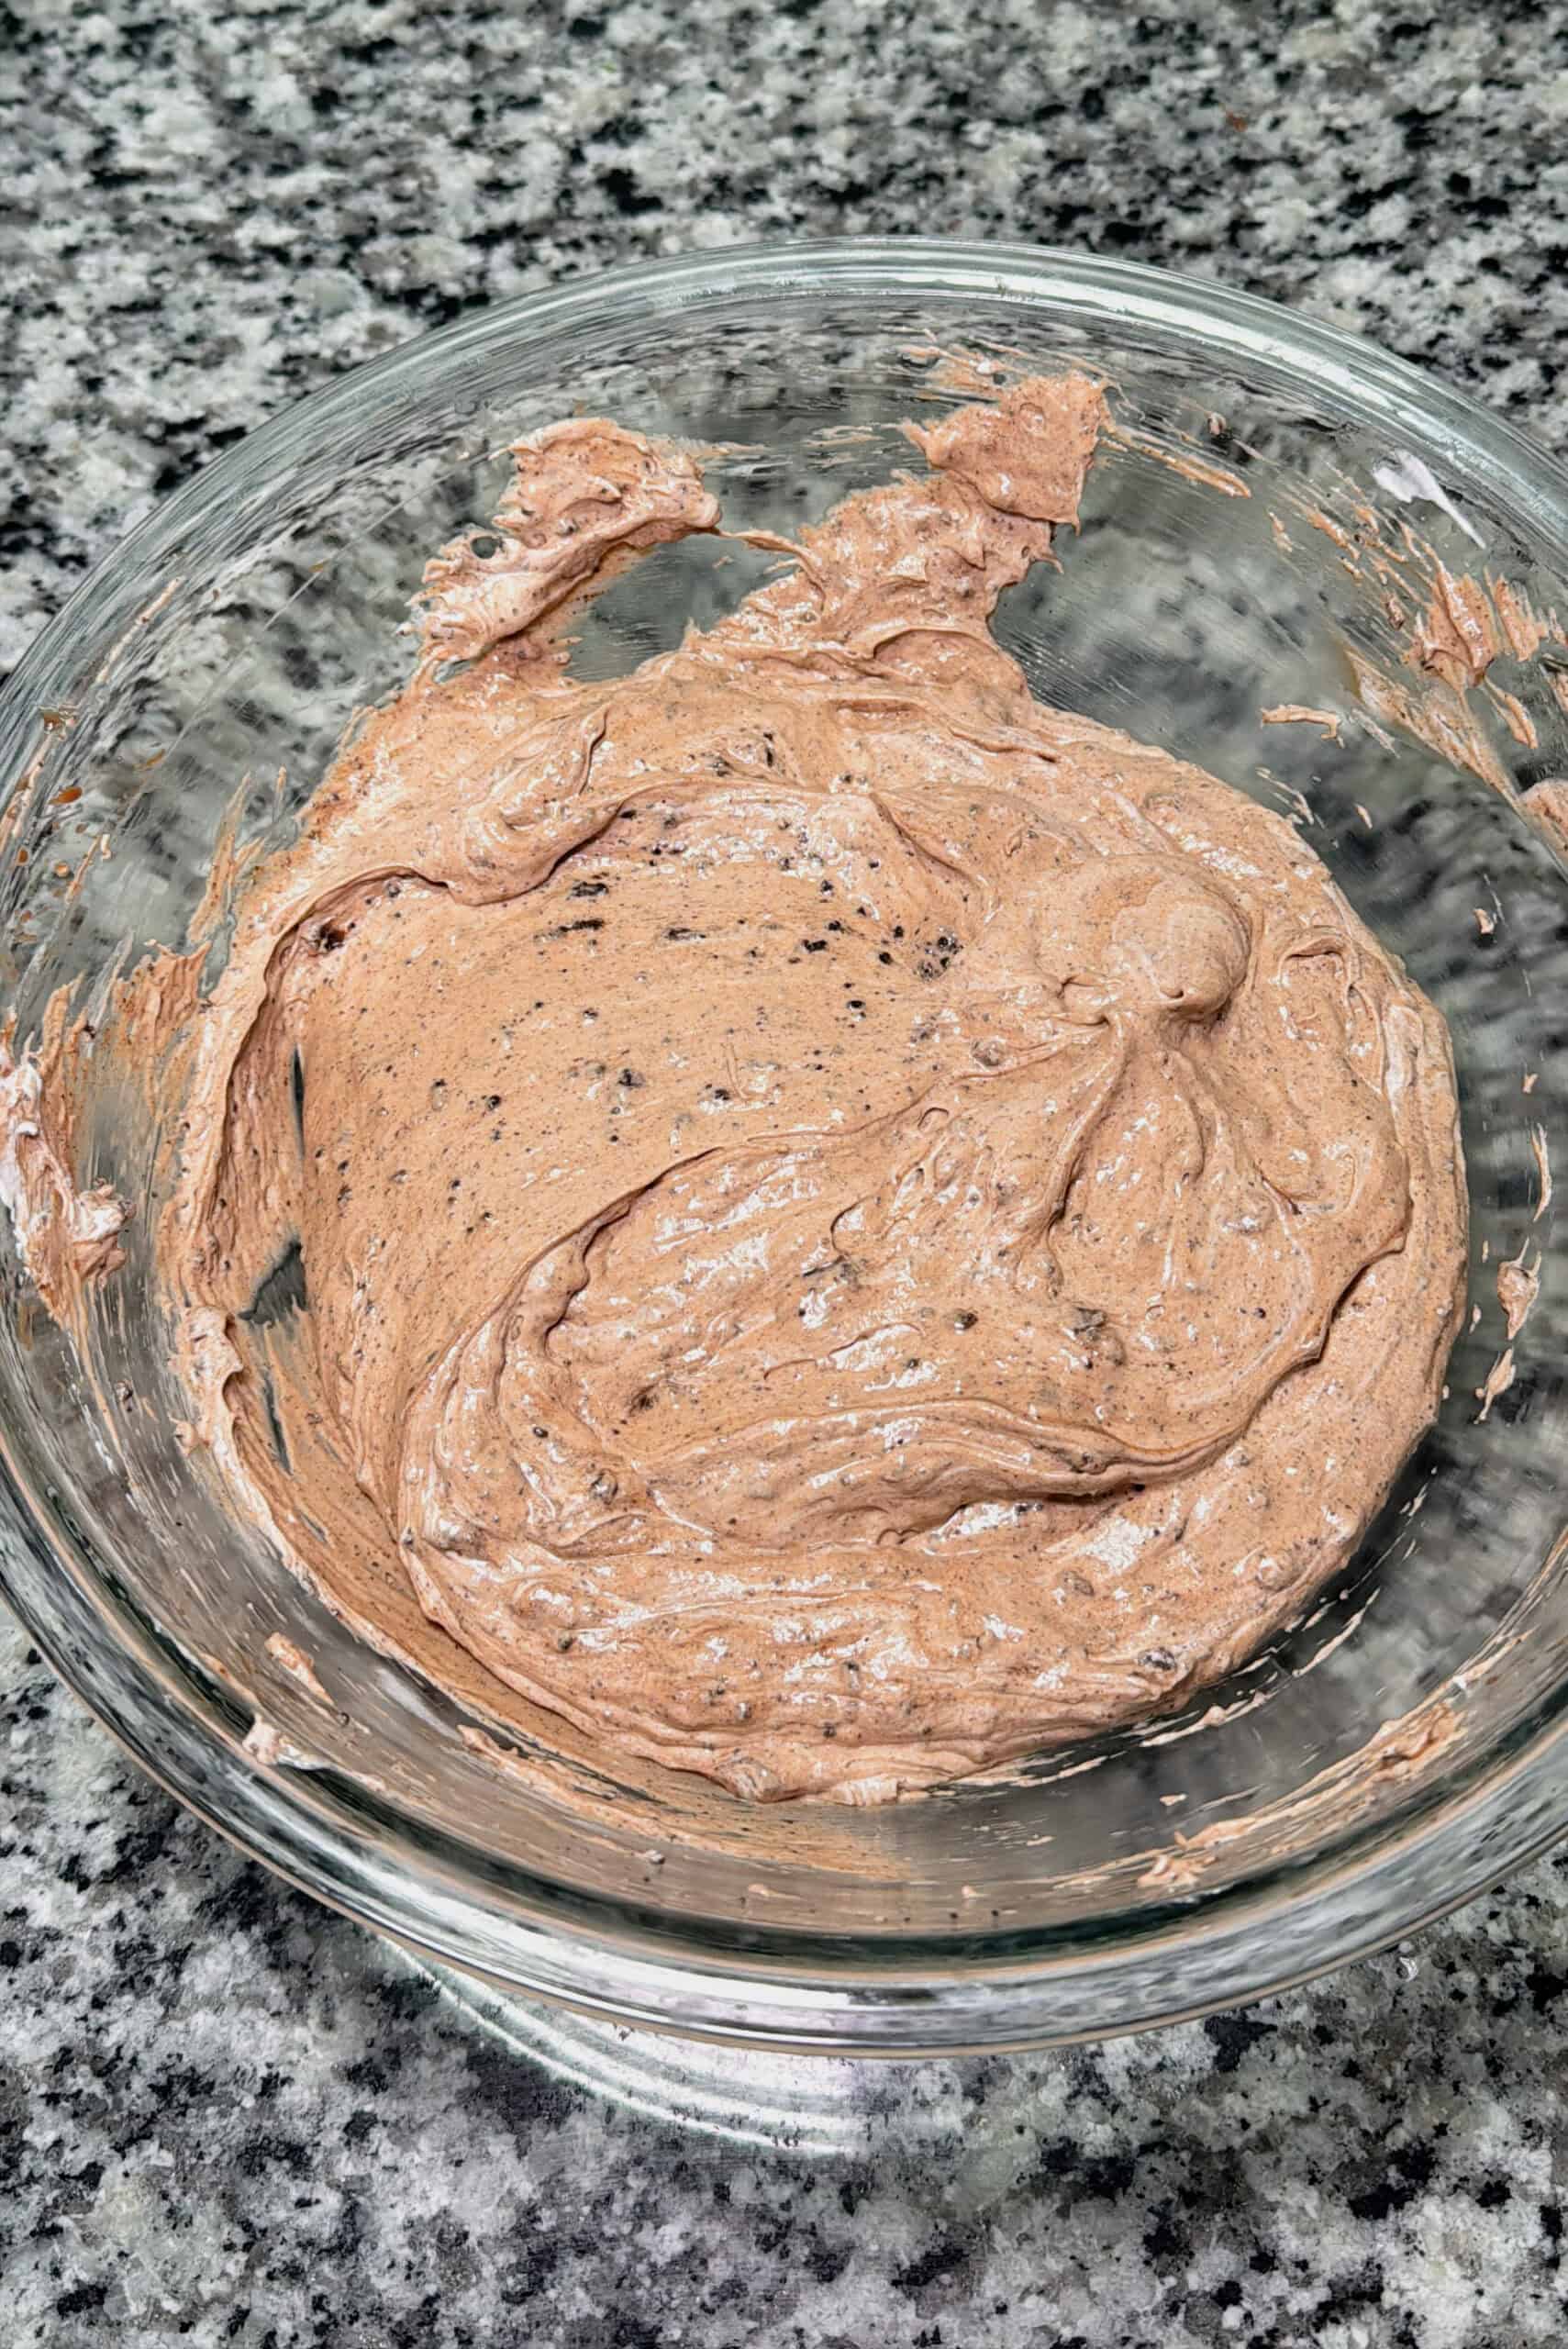
- Step 3: Slowly fold in the Cool Whip until everything is fully combined and the mixture becomes light and creamy.
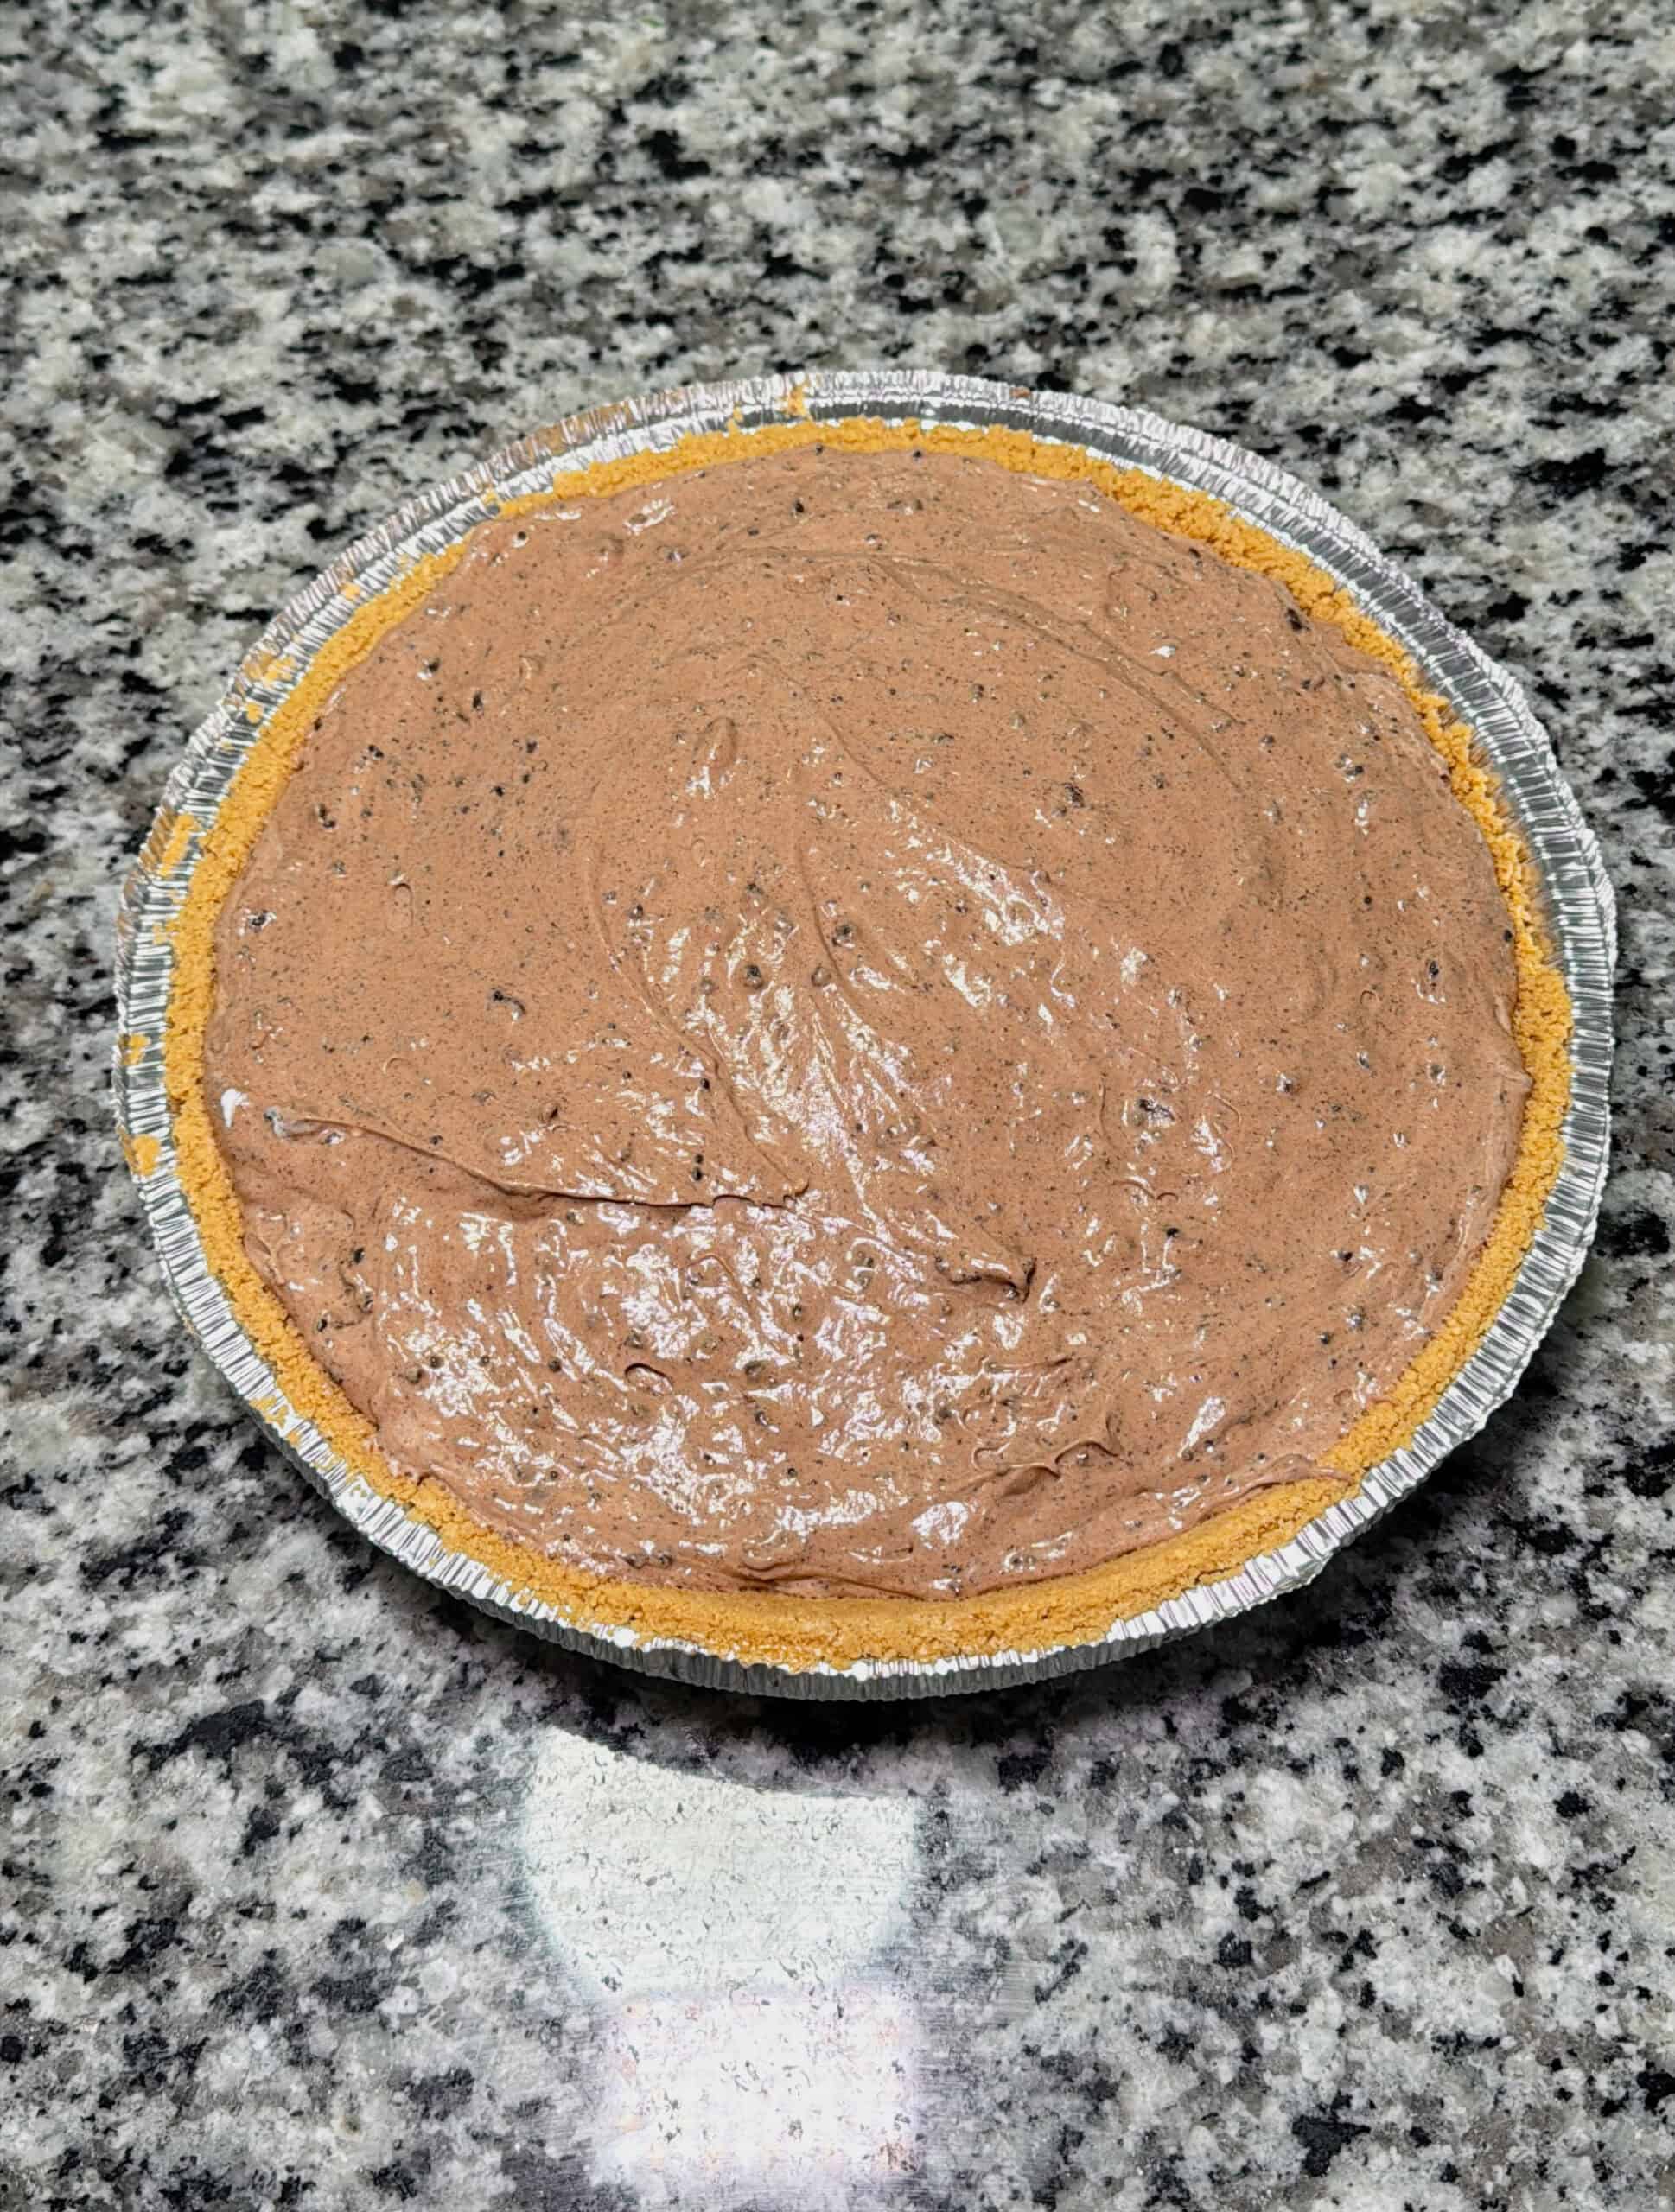
- Step 4: Pour the filling into the graham cracker crust and smooth the top with a spatula.
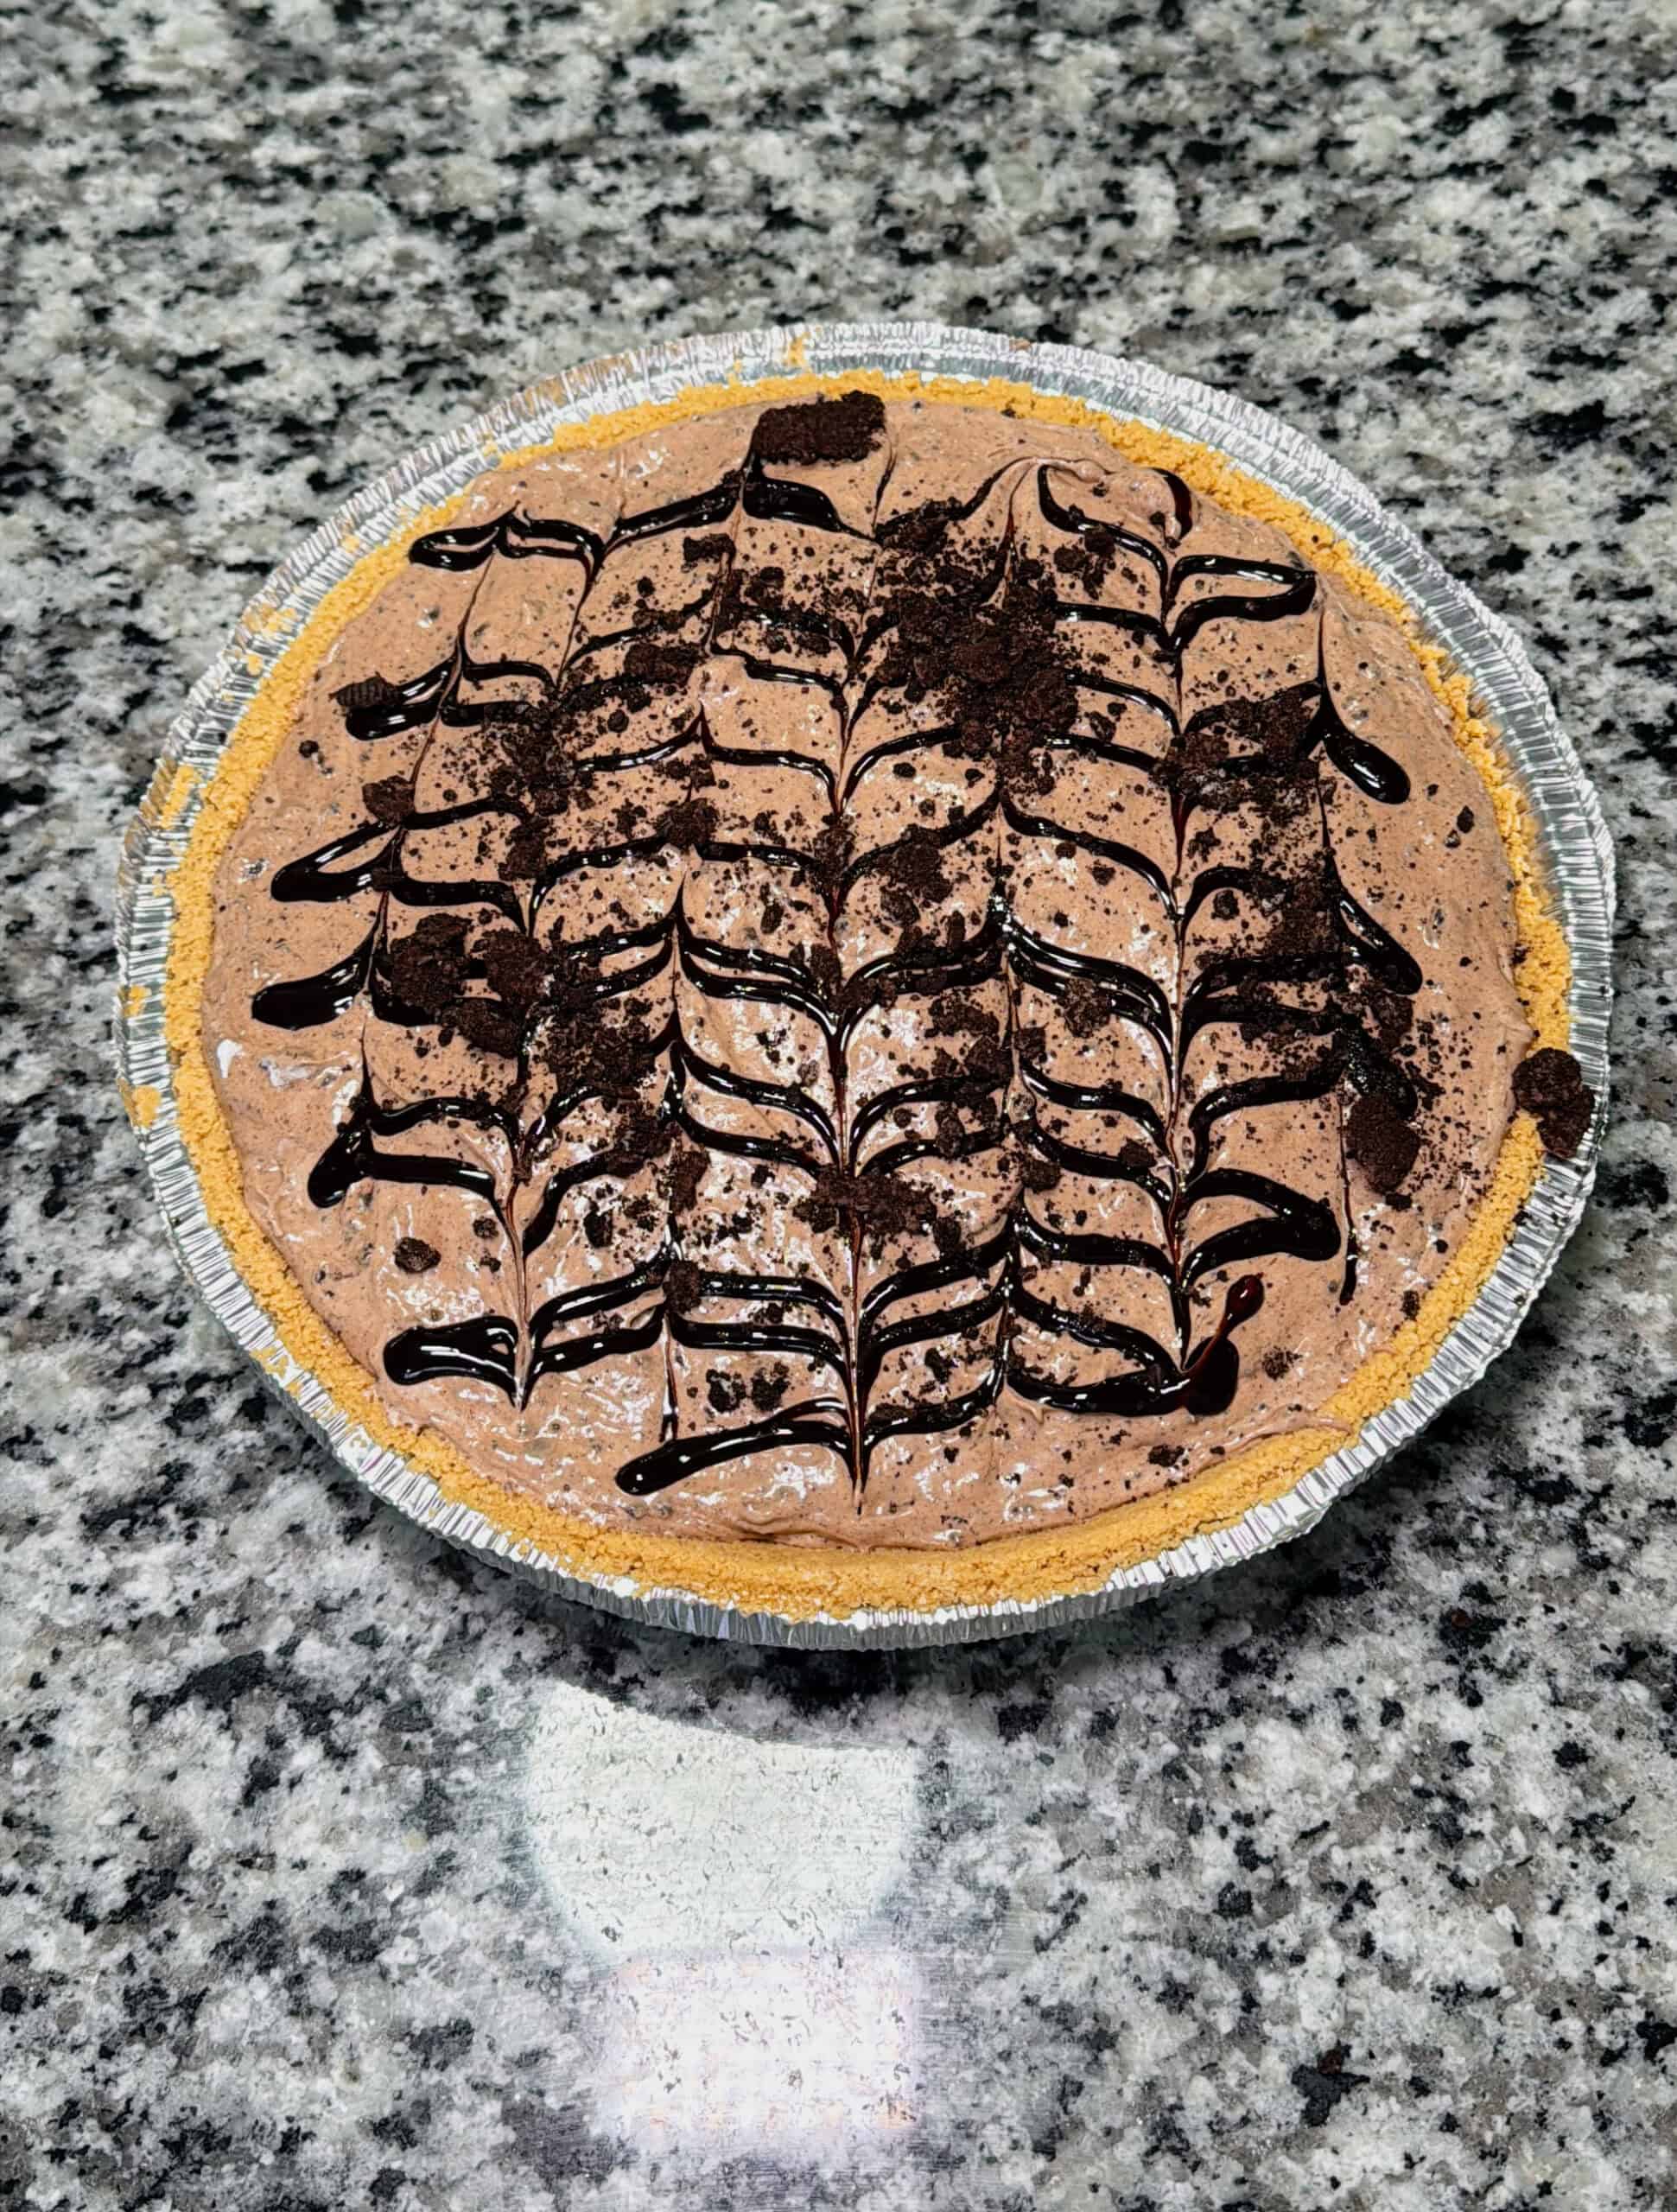
- Step 5: Drizzle additional chocolate syrup over the top and swirl it gently with a toothpick to create a design if desired. Sprinkle extra crushed Oreos over the top if you would like.

- Step 6: Place the pie in the refrigerator and chill for at least 6 hours so the filling sets properly. Serve when ready and enjoy!
Equipment
- Large mixing bowl
- Hand mixer or stand mixer
- Rubber spatula or mixing spoon
- Measuring cups
- Toothpick (for swirling the chocolate drizzle)
- Pie server or knife for slicing
- Refrigerator for chilling
Storage
Store the pie covered in the refrigerator to keep it fresh. You can cover the pie with plastic wrap or place it in an airtight container.
For best texture and flavor, enjoy the pie within 3 to 4 days. Keep the pie chilled until you are ready to serve since the filling softens if it sits out too long.
FAQ
Yes, you can use an Oreo cookie crust or a chocolate cookie crust for an even richer chocolate flavor. Both options pair really well with the creamy Oreo filling.
The pie should feel firm in the center after chilling for at least 6 hours. When you slice it, the filling should hold its shape instead of running.
Absolutely! Whipped cream, extra crushed Oreos, chocolate drizzle, or even mini chocolate chips make great toppings and add extra texture and flavor.
More Desserts You May Enjoy:
Looking for other recipes like this? Try these:


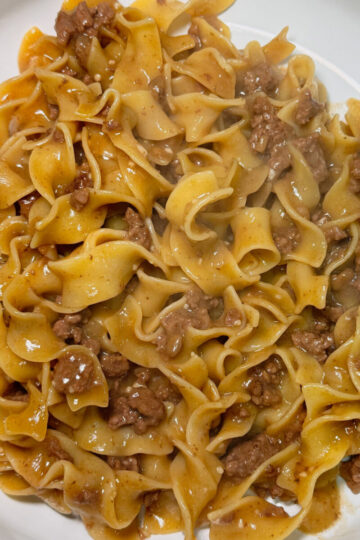
Need Dinner Before Dessert?
Here's some dinners you might love!


📖 Recipe
No Bake Oreo Pie
Equipment
- Large mixing bowl
- Hand mixer or stand mixer
- Rubber spatula or mixing spoon
- Measuring cups
- Toothpick (for swirling the chocolate drizzle)
- Pie server or knife for slicing
- Refrigerator for chilling
Ingredients
- 1 9-inch Pre-Made Graham Cracker Crust
- 8 ounces Cream Cheese softened
- ½ cup Chocolate Syrup
- ½ can Sweetened Condensed Milk
- 8 oz Cool Whip
- ½ cup Crushed Oreos (save a smidge for the top!)
- Additional crushed Oreos for topping optional
- Extra chocolate syrup for drizzling optional
- Whipped cream for serving optional
Instructions
- In a large mixing bowl, combine the softened cream cheese, sweetened condensed milk, and chocolate syrup. Mix with a hand mixer until smooth and well combined.
- Stir in the crushed Oreos with a spatula or spoon until evenly mixed throughout the filling.
- Slowly fold in the Cool Whip until everything is fully combined and the mixture becomes light and creamy.
- Pour the filling into the graham cracker crust and smooth the top with a spatula.
- Drizzle additional chocolate syrup over the top and swirl it gently with a toothpick to create a design if desired. Sprinkle extra crushed Oreos over the top if you would like.
- Place the pie in the refrigerator and chill for at least 6 hours so the filling sets properly.
- Slice and serve with whipped cream if desired. Enjoy!


Comments
No Comments